Adding Host Mapped Domains
If you want to map to your company's own host domain instead of using the default Central domain, you can do so by creating a Canonical Name (CNAME) and following the steps below. You can add as many host mapped domains as you need. The output will still be hosted on Central servers, but the URL that you give to end users will be your company’s domain.
[Menu Proxy — Headings — Online — Depth3 ]
Permission Required?
For this activity, you must have the following permission setting:

For more information about permissions, see Setting User Permissions or Setting Team Permissions.
How to Add a Host Mapped Domain
-
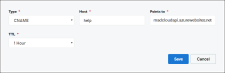
After obtaining a domain and subdomain that you want to use, create a CNAME (a type of alias) on the registrar’s website. Point the CNAME to the MadCap Central API.
United States server API:
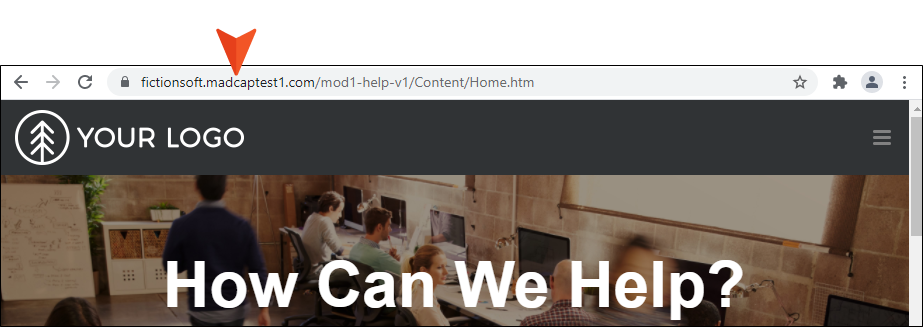
Copymadcloudapi.azurewebsites.netExample Your domain is fictionsoft.com on the United States server, and your subdomain is help (i.e., help.fictionsoft.com). If Godaddy is your registrar, you might set up your CNAME like this:
European server API:
Copyapi-eugwc-prod.azurewebsites.netNote You might need to involve an individual in your company, such as a system administrator, to set up the CNAME with the API. For details on creating a CNAME, please refer to the registrar’s website documentation.
-
On the left side of the interface, click Sites.
-
Select the URLs tab.
-
In the toolbar click
 .
. -
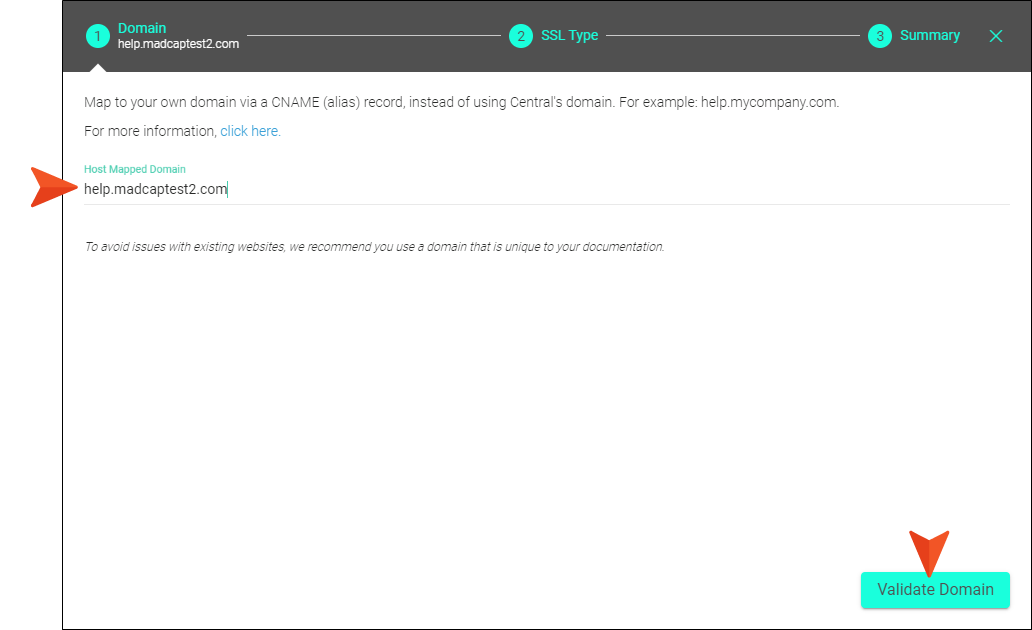
In the wizard, type the host domain you want to use, and click Validate Domain.
-
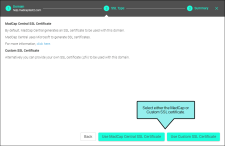
- Use MadCap Generated SSL Certificate You might decide to select the MadCap secure certificate if your company’s IT resources are limited or you are not concerned about using your own certificate.
-
Use Custom SSL Certificate Select this option if your IT department prefers to use its own certificate, instead of MadCap’s. After obtaining the Personal Information Exchange (.pfx) file from your IT department, click Select Your File to find and select it. Then enter the SSL password, and click Next.
Note Central supports only PFX certificates that require passwords.
Note It is recommended that you generate only one certificate in a 24-hour time period.
Note Central uses Microsoft Azure to generate SSL certificates.
-
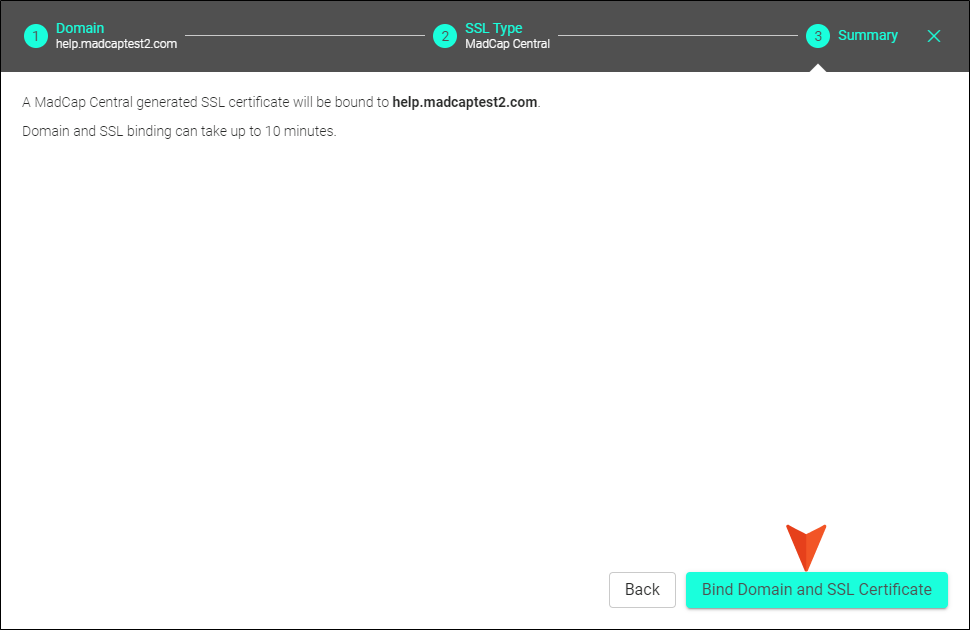
Select Bind Domain and SSL Certificate. (This process can take up to 10 minutes.)

When the domain is validated and bound, you can use the wizard to change host mapped domain settings.
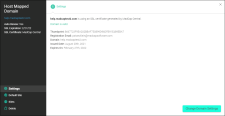
If you click the Change Domain Settings button, that takes you back to the Domain page of the wizard to update and validate a new host mapped domain.
-
Click the x in the upper-right corner to close the wizard.

Note If the domain does not validate successfully, make sure the CNAME is set up correctly with the registrar.


Note If you have an older URL that you need to continue to use in order to maintain consistency with your company and prevent older links from breaking, you can create a redirect from that URL to your new domain. Ask the web administrator in your company for assistance with this.
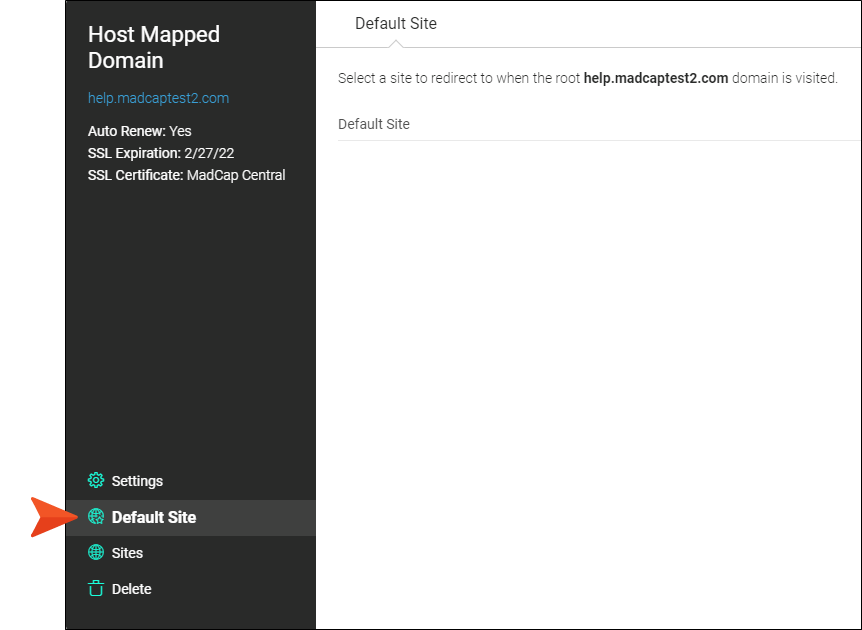
How to Add a Default Site
You can select a site to redirect to when the root domain is visited.
- On the left side of the interface, click Sites.
- Select the URLs tab.
- Click
 next to the domain you want to edit and select Edit.
 -
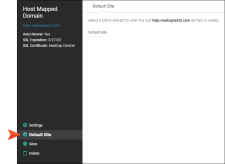
From the Host Mapped Domain wizard, select Default Site.
-
From the Default Site drop-down, select a site.

Note Make sure the site you select is also associated with a custom domain.
- Click Save.
-
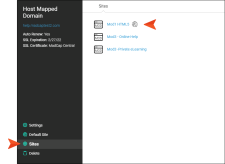
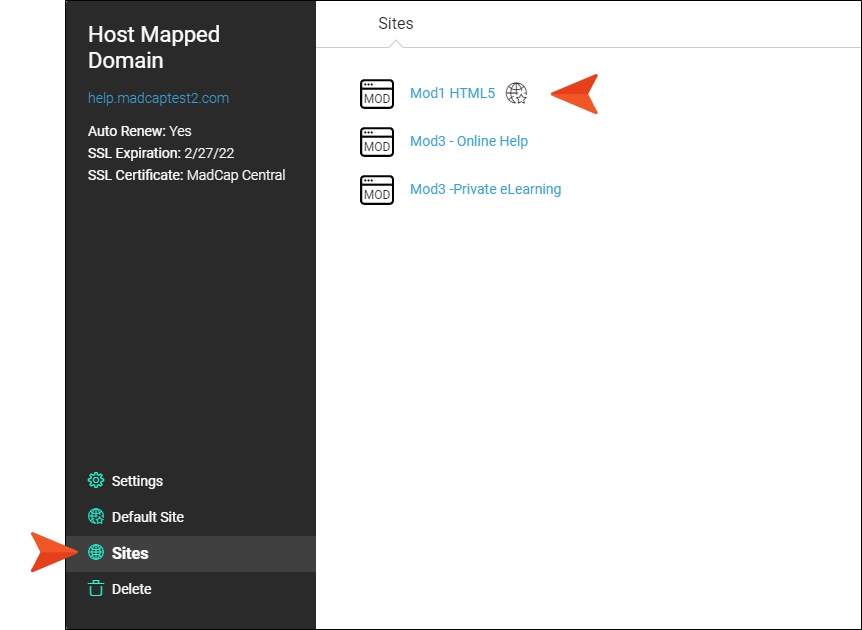
(Optional) You can quickly see which sites are associated to the host mapped domain by clicking Sites. The wizard lists the sites. If a site is set as the current default site, it is indicated as such by a globe/star icon.

Example If you don't set a default site, visiting a live URL root domain can result in a "404, page not found" error.
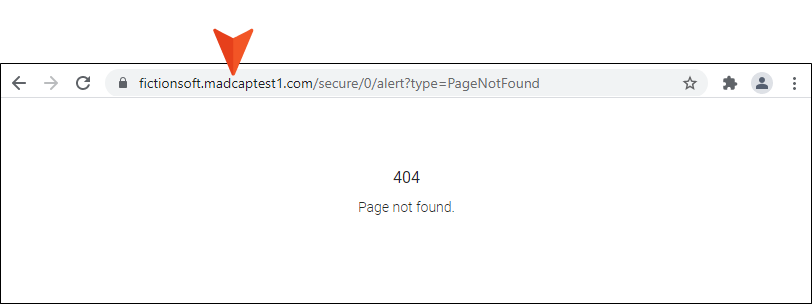
However, if you do set a default site, and you type the root domain into the browser's URL, it redirects to the assigned default site.