Creating and Assigning Tasks
You can create tasks to help organize your workload. This includes the ability to set the priority level, dates, and estimated hours on tasks; associate tasks with Flare projects; assign tasks to others or to yourself; and attach files to tasks.
[Menu Proxy — Headings — Online — Depth3 ]
Permission Required?
To create, edit, add comments to, or delete a task, you must have the following permission setting:

Without permission, you can only view tasks.
For more information about permissions, see Setting User Permissions or Setting Team Permissions.
How to Create a Task
- On the left side of the interface, click Tasks.
- In the grid, select a task board. If no boards display, you might have to create a board and add tasks to it.
- In the toolbar click
 .
. -
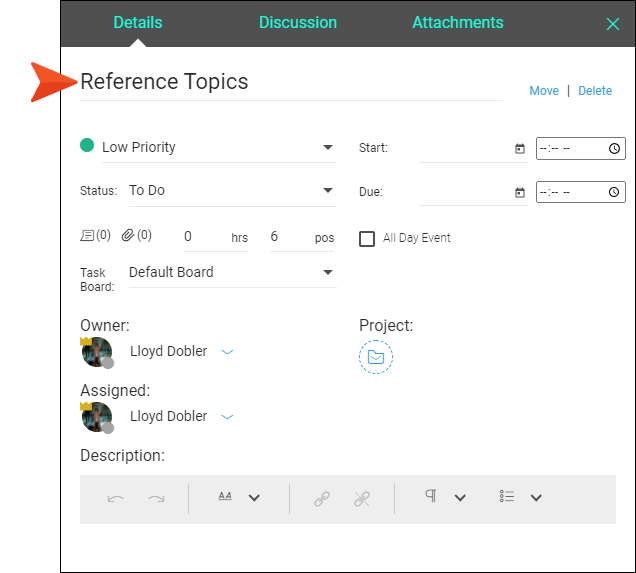
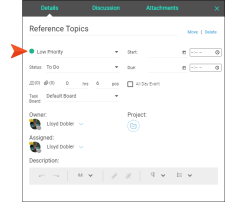
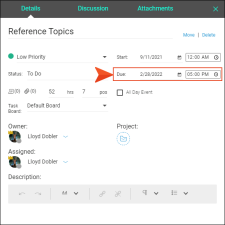
At the top, on the Details tab, enter a title for the task.

- (Optional) Complete any of the other fields in the dialog:
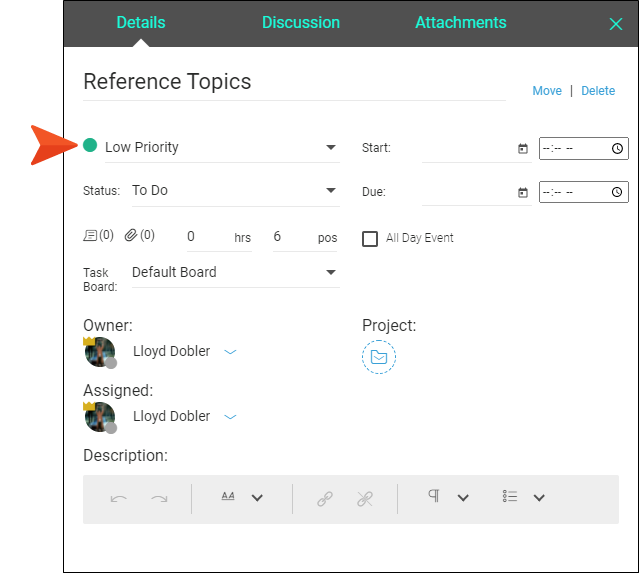
- [Priority Level] Click in this field and select a level—Low Priority, Medium Priority, or High Priority. Each priority level is indicated by a color, which is shown in the task card:
- Low=Green
- Medium=Yellow
- High=Red
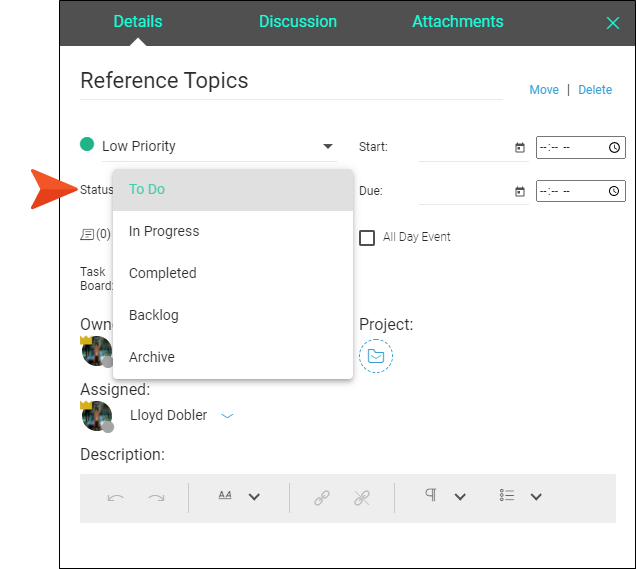
Status You can select the milestone or location for the task. A new task is automatically placed in the To Do milestone.

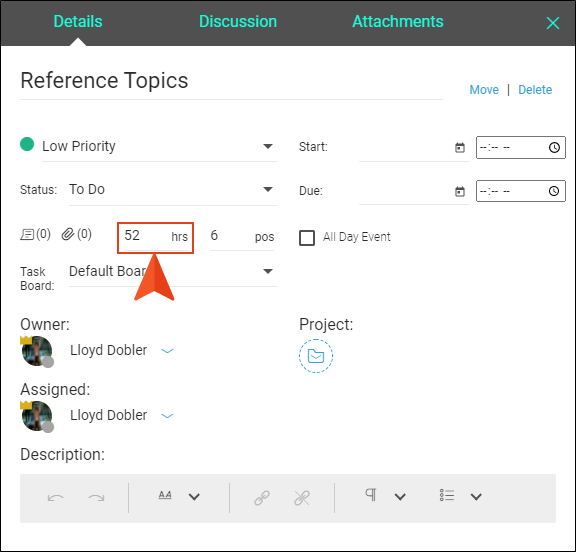
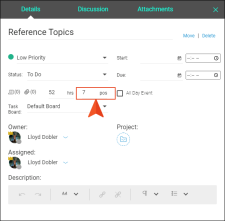
[Estimated Hours] You can enter an estimated number of hours for the task.

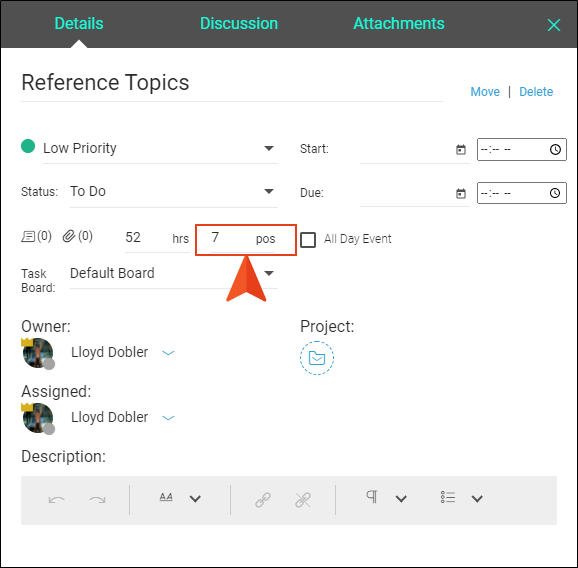
[Position] You can choose the position of the task in the milestone (e.g., 1 is the top). By default, new tasks are placed at the bottom of the milestone unless you specify otherwise. For example, if the milestone currently has six existing tasks in it, the new task will have a position of 7.
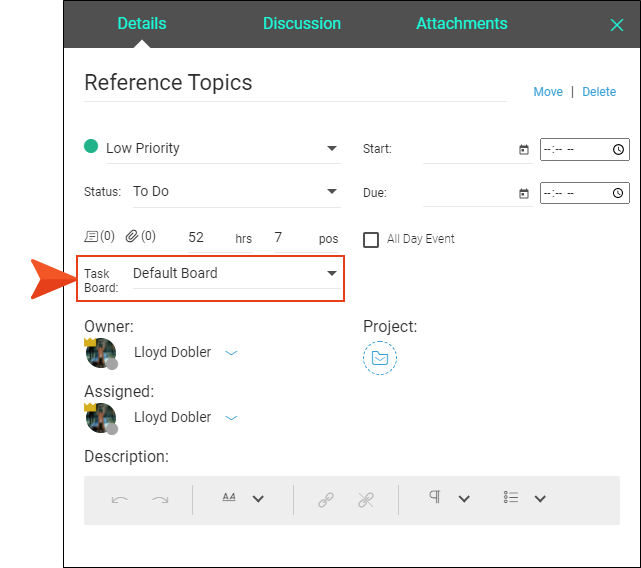
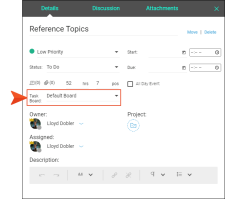
Task Board You can choose a different task board to hold the task.
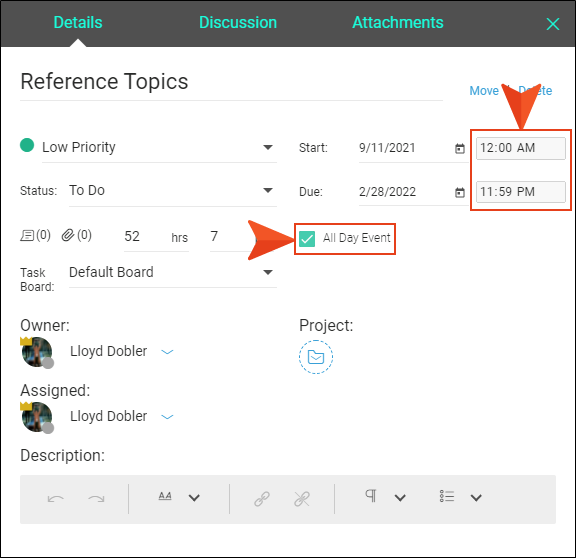
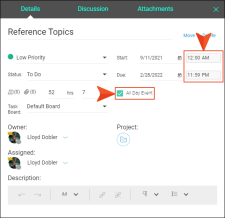
Start You can select the date and time when the task should be started. This date is used when looking at the task in Calendar view.
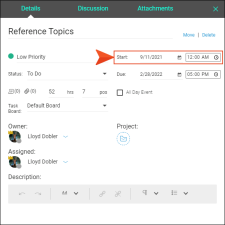
Due You can select the date and time when the task is due. This date is used when looking at the task in Calendar view. When a task is past the due date (and not yet completed), the text turns red.
All Day Event Select this if you want the task to automatically select all of the time for each day in the date range, from 12:00 AM to 11:59 PM.
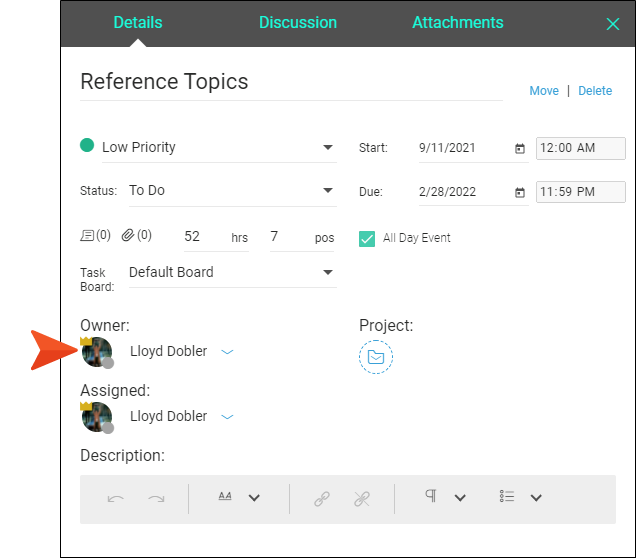
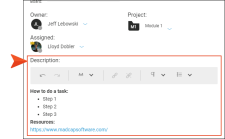
Owner You can click the down arrow to choose another user as the owner of the task. This field might be needed when editing the task later, for example, if the original owner of the task leaves the company and you need to assign it to someone else.

Assigned You can click the down arrow to assign the task to a user. By default a new task is assigned to yourself.

Note A task can be assigned to only one person.
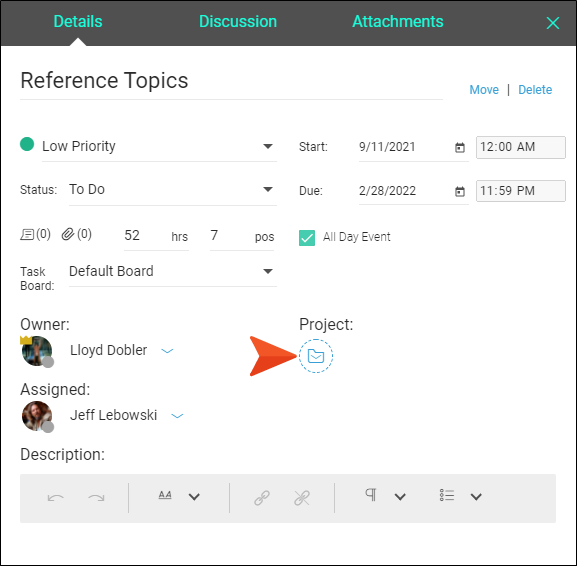
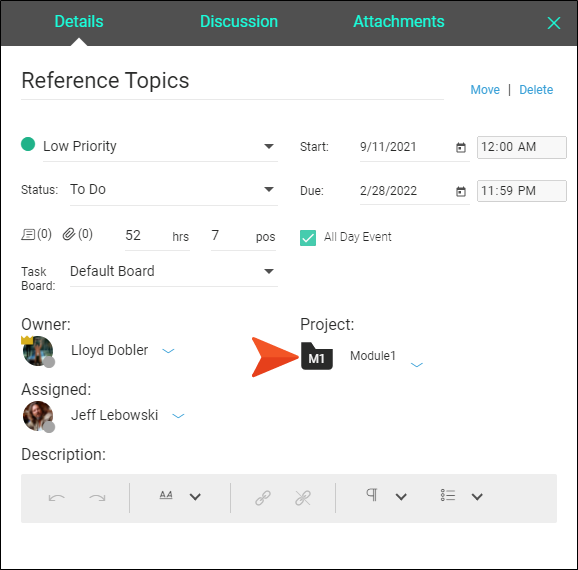
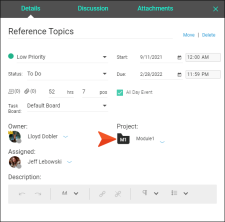
Project Click
 if you want to select an uploaded Flare project. This associates the project with that task, and anytime users open the task, they can click the project link to open it in the Projects page.
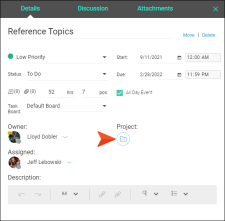
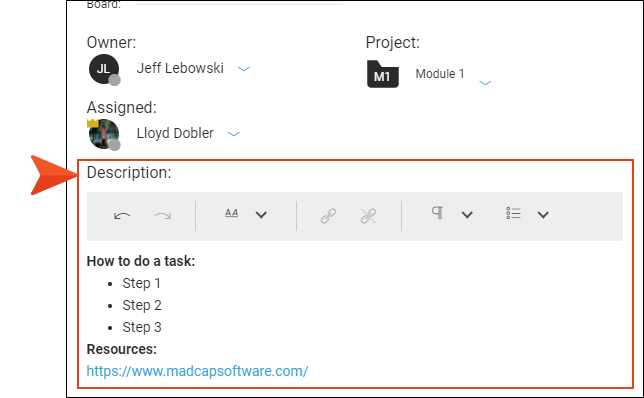
Description You can enter a description for the task. This field includes a rich text editor for editing and formatting your text in the task description. You can format text (e.g., bold, italics, underline), add headings, add bullet or ordered lists, increase or decrease indentation, or redo and undo actions. In addition, you can insert hyperlinks into the description. For example, these links can point to external websites, Google docs, or checklist URLs associated with your Central license.
- [Priority Level] Click in this field and select a level—Low Priority, Medium Priority, or High Priority. Each priority level is indicated by a color, which is shown in the task card:
-
(Optional) At the top of the dialog, select Discussion. You can use this area to add comments and maintain a conversation with others about the task.
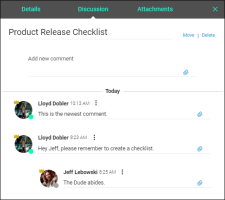
Note You can also use the paper clip button to add attachments to a comment.
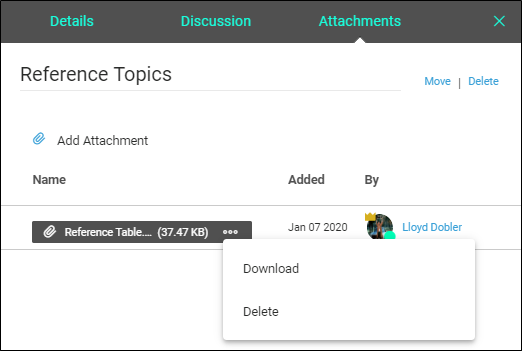
-
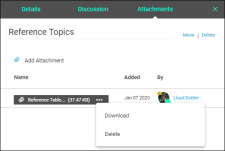
(Optional) At the top of the dialog, select Attachments. You can use this tab to associate one or more files with the task. Others can then click the ellipsis next to an attachment to download it.
- Click Save.