Editing Project Properties
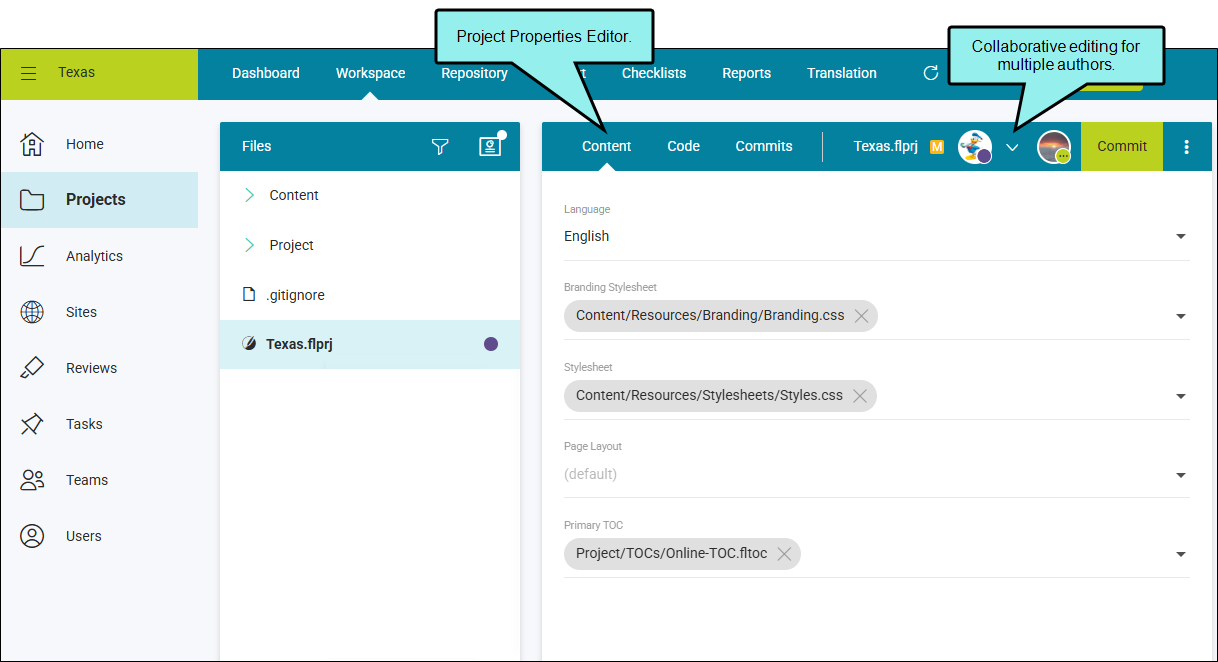
Flare Online lets you edit the project file (FLPRJ) in a user-friendly Project Properties Editor. The editor is collaborative, meaning multiple users can make changes within the editor, and then retain all sets of updates when done.
If you click to edit the project file, it opens in the Content tab for easy editing. It enters a “workspace mode,” making a working copy of the file from the repository. In this mode, the file is in a non-committed state with pending changes. When editing is completed, the file needs to be committed back to the project’s repository.
[Menu Proxy — Headings — Online — Depth3 ]
Permission Required?
Editing content and project files is an activity available to users with the Author status. By default, users with Author status have the following permissions set:
-

If this is deselected, then viewing files in a read-only mode is allowed. On the left side of the page, the Files vertical three-dot menu is not available.
-

If this is deselected, the XHTML in the Code view is read-only.
Editing code is regarded as a capability for an advanced user. If not done properly, the code can become malformed quickly. Administrators can prevent users from editing the code by deselecting the Edit Code permission.
In addition, AI Assist involves the following permissions:
-

This is required to integrate a ChatGPT account with a Flare Online license in the license settings.
-

This is required to use AI Assist (and therefore ChatGPT) when modifying topics and snippets.
Note Even if this permission is enabled, ChatGPT does not scan anything on your computer. The only information ChatGPT can acquire from you is what you enter manually into the prompt when using AI Assist. If your company has strict policies against AI or ChatGPT, simply do not use it.
For more information about permissions, see Setting User Permissions or Setting Team Permissions.
How to Edit Project Properties
- On the left side of the Flare Online interface, click Projects.
-
Select a project to open it.
-
Click the Workspace tab at the top of the screen.
-
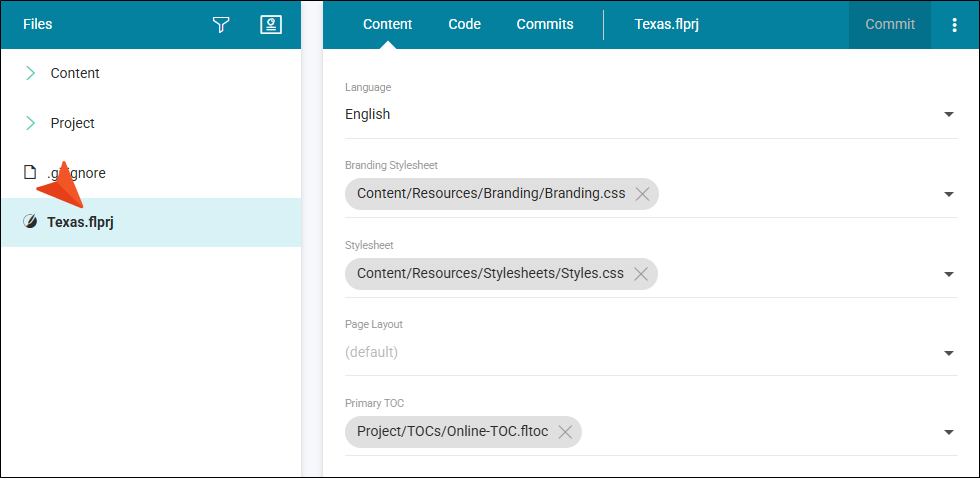
From the left side of the page, click the project file (FLPRJ). The Project Properties Editor opens.
-
From the drop-down fields in the editor, update the following properties for a project.
-
Language Select a language attribute for the project (the default is English). The language for the project affects the skin when building output, index file sorting, glossary stemming, the display of bi-directional languages in the editor. Even though you can set a language, this does not mean that Flare Online automatically outputs translated content.
-
Branding Stylesheet The branding stylesheet (Branding.css) specifically identifies values for branding elements for your project. When you add a new branding file to a project it ties the stylesheet to a project if you select it as your branding stylesheet. (The branding stylesheet can also be associated at the target level.)
-
Stylesheet When you want to use styles in your content, the stylesheet needs to be made available for the content in question. If you associate a stylesheet at the project level the styles will be available for the content in the project. If you specify a stylesheet at the project level and another at a target level, the stylesheet at the target takes precedence.
-
Page Layout Select to associate a single page layout with a project, where the same page layout will be applied to all topics in that project. This pertains to PDF and PowerPoint outputs. (A page layout can also be associated at the target level.)
-
Primary TOC It is common to have one TOC for a particular output, or target where you would associate a TOC with the target. But you can have multiple TOCs in a project, and you can set the TOC at the target or project level. If you have specified a Primary TOC at the project level and another at a target level, the TOC at the target will take precedence. If you have a target with the TOC set to default, then the Primary TOC will be honored in the output.
-
-
Click Commit.
-
In the Create New Commit dialog, enter a Commit Message.
-
Click Commit. (Or click Cancel, to back out of the process.)
Note The profile holds project file information and settings that you can apply to a project (i.e., icon color, description, initials, name), and the project file from the workspace lets you change the properties. A key difference is where the information is written. The profile writes to the database, whereas the workspace writes to the file and is tied to Git.
