Adding Regular Stylesheets


In many cases, you will already have a regular stylesheet that was automatically added when you created a project. If you want to add another stylesheet, you can use the following steps to create a new stylesheet.
[Menu Proxy — Headings — Online — Depth3 ]
Permission Required?
Editing content and project files is an activity available to users with the Author status. By default, users with Author status have the following permissions set:
-

If this is deselected, then viewing files in a read-only mode is allowed. On the left side of the page, the Files vertical three-dot menu is not available.
-

If this is deselected, the XHTML in the Code view is read-only.
Editing code is regarded as a capability for an advanced user. If not done properly, the code can become malformed quickly. Administrators can prevent users from editing the code by deselecting the Edit Code permission.
For more information about permissions, see Setting User Permissions or Setting Team Permissions.
How to Add a Regular Stylesheet
-
Open a project, and select the Workspace tab at the top.
-
From the main toolbar, click
 to add a new file.
Note Alternatively, you can upload an external file into your project.
-
In the Add File dialog, click the File Type drop-down, and select Stylesheet.
-
In the File Path field, enter a path and a name for the new file. The recommended path for regular stylesheets is Content > Resources > Stylesheets. However, you can add the stylesheet anywhere in the Content folder that you want.
Alternatively, click
 to select a location for the file in the project, and Accept the file path. Then in the File Path field, enter a name for the file.
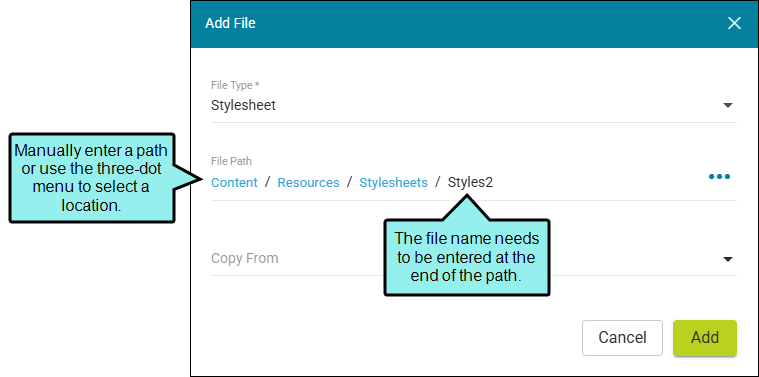
Note You might notice the File Path displays black or blue lettering. The blue items are folders, and you can click the item to jump to that folder.
For example, in the Add File dialog, a file path contains several folders (indicated by blue lettering) before the filename.

If the "Folder1" item is clicked, you know longer see the subfolders.

-
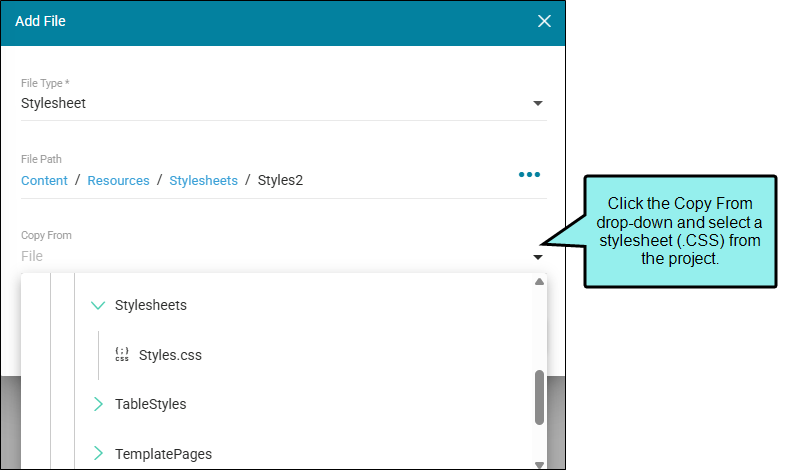
(Optional) In the Add File dialog, from the Copy From drop-down, you can select an existing stylesheet file to use. This copies all the settings from the existing file to the new file, providing a base of settings to start with for your file. If you choose not to do this, then your new stylesheet is populated with a set of factory default settings.
-
Click Add. A new file is created.
-
Click the Code tab to view the contents of the stylesheet.
Note Flare Online supports rendering and applying styles in the workspace. To edit or maintain your regular CSS file, use the Stylesheet Editor feature in Flare Desktop. Alternatively, in Flare Online you can use the stylesheet's Code view, but be advised that editing code is an advanced skill.
-
Click Commit.
-
In the Create New Commit dialog, verify the new file path, and enter a Commit Message.
-
Click Commit. (Or click Cancel, to back out of the process.)
