Editing Destinations
Once you have a destinations file, you can edit it in the Destination Editor at any time.
[Menu Proxy — Headings — Online — Depth3 ]
Permission Required?
For this activity, you must have the following permission to control and allow access to external servers:

A user with Administrator rights is expected to have the Manage Integrations permission to integrate a connector with a Flare Online license.
For this activity, you must have the following permission:

Users associated with a project only need the Publish Builds permission for publishing output.
For more information about permissions, see Setting User Permissions or Setting Team Permissions.
How to Edit a Destination
-
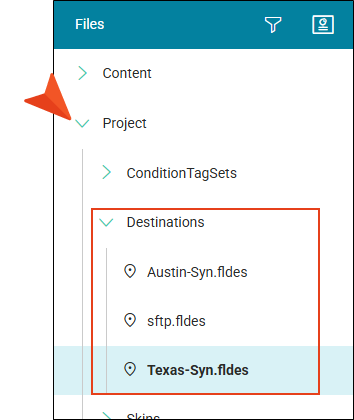
From the Projects page (Workspace tab), open a destination.
Tip From the left side of the page, you can also click
 to search for a specific file. If you right-click the destination, you can open it from the popup.
 -
From the Type drop-down, select external location where you want your output to go.
-
Set the options.
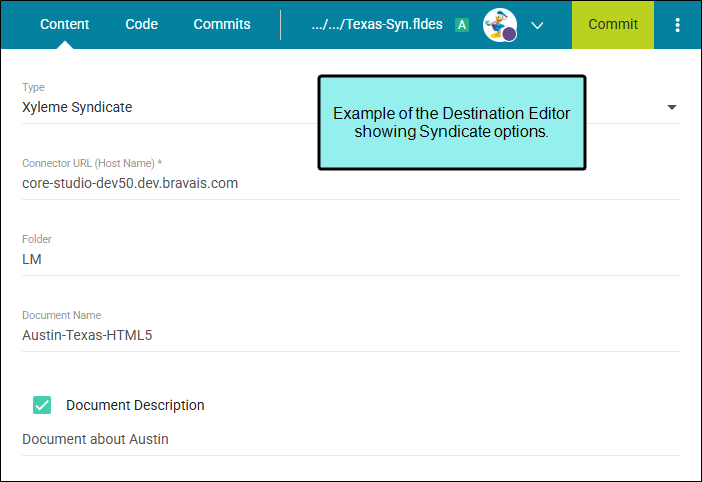
Syndicate
-
Connector URL (Host Name) Enter the Syndicate URL from your connector (e.g., core-[customer].bravais.com).
-
Folder Enter the folder where you want the publication to go on your host.
Note On the Syndicate side, the API user or standard user needs to have access to the folder. If you want your publications to land in a specific folder in Syndicate's Admin Portal, you need to create one in the Documents area before you publish. If you publish with no folder specified, the output publishes, but is added at the end of existing folders.
-
Document Name Enter a name for the publication (default, use target name).
-
Document Description Add details about the publication (default, use target comment).
SFTP
-
Connector URL (Host Name) Enter the host name of the remote server or computer for the output files.
-
Directory Enter the folder path for output files to publish.
-
Comment Provide a description of the destination so its purpose is clear.
-
Upload Log File Select to define upload actions:
-
Upload Only Changed Files Republish only the files that have changed. This can save significant time.
-
Remove Outdated Published Files Identify files that were previously published to the destination but are no longer in the files to be published.
-
-
- Click Commit.
- In the Create New Commit dialog, verify the new file path (and edit if necessary), and enter a Commit Message.
-
Click Commit. (Or click Cancel, to back out of the process.)
Note The Connector URL (Host Name) in the Destination file must match the URL in the Connector page. This enables Flare Online to match the host names behind the scenes so a destination and build know which connector to use.
