Using AI Assist in Central
After your ChatGPT account is connected to Central in license settings, you can use ChatGPT when authoring or editing files.
[Menu Proxy — Headings — Online — Depth3 ]
Permission Required?
Editing content and project files is an activity available to users with the Author status. By default, users with Author status have the following permissions set:
-

If this is deselected, then viewing files in a read-only mode is allowed. On the left side of the page, the Files vertical three-dot menu is not available.
-

If this is deselected, the XHTML in the Code view is read-only.
Editing code is regarded as a capability for an advanced user. If not done properly, the code can become malformed quickly. Administrators can prevent users from editing the code by deselecting the Edit Code permission.
In addition, AI Assist involves the following permissions:
-

This is required to integrate a ChatGPT account with a Central license in the license settings.
-

This is required to use AI Assist (and therefore ChatGPT) when modifying topics and snippets.
Note Even if this permission is enabled, ChatGPT does not scan anything on your computer. The only information ChatGPT can acquire from you is what you enter manually into the prompt when using AI Assist. If your company has strict policies against AI or ChatGPT, simply do not use it.
For more information about permissions, see Setting User Permissions or Setting Team Permissions.
How to Use AI Assist in Central
-
On the left side of the Central interface, click Projects.
-
Click a project name.
-
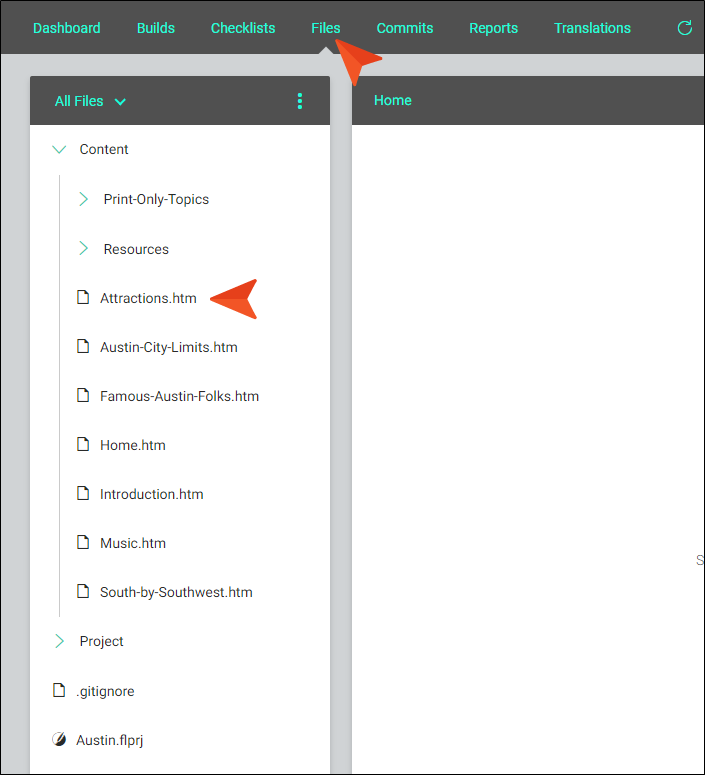
At the top of the screen, click Files, and from the left side of the page, find and open a topic or snippet file.

-
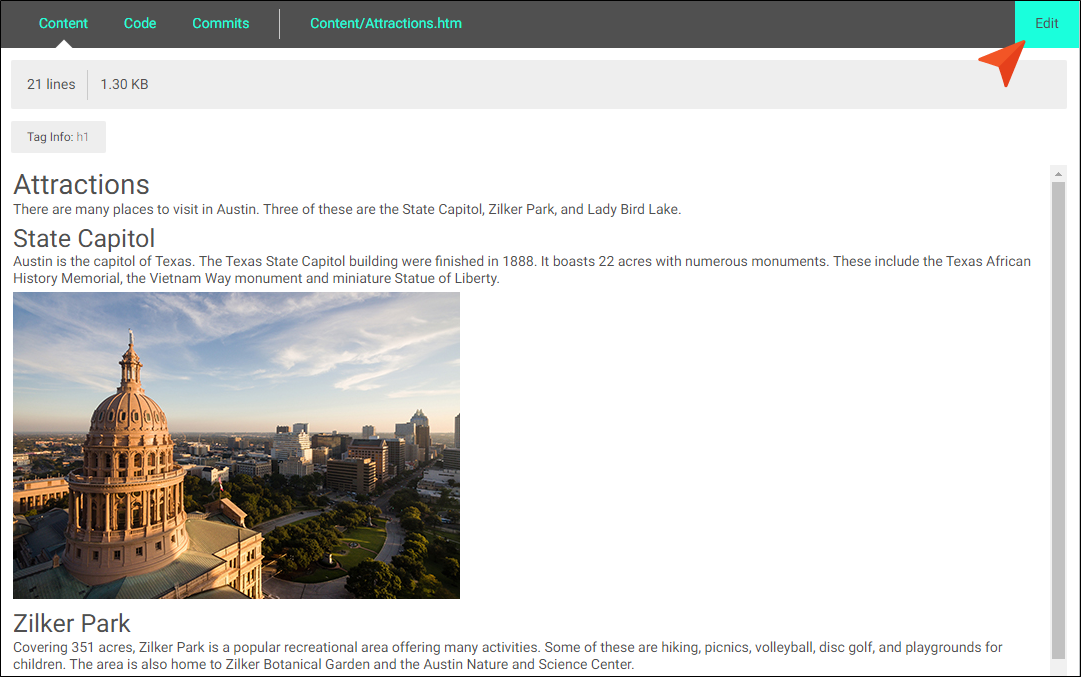
In the upper-right, click Edit.

-
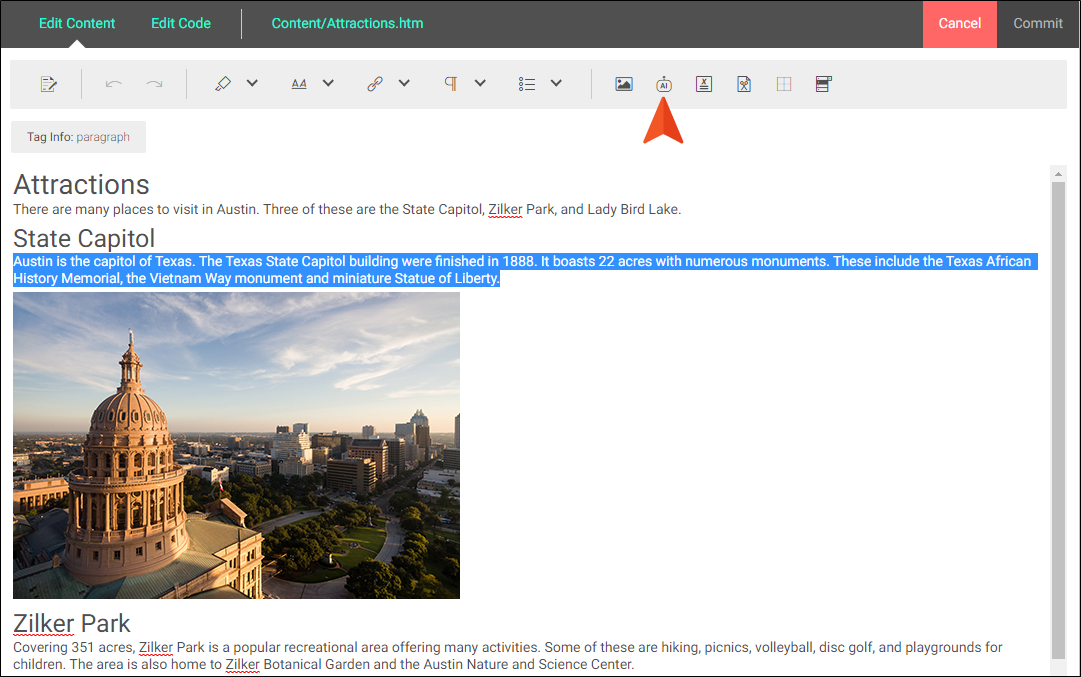
Place your cursor where you want to insert new content, or select existing content that you want to replace.
-
In the toolbar, click
 .
.
-
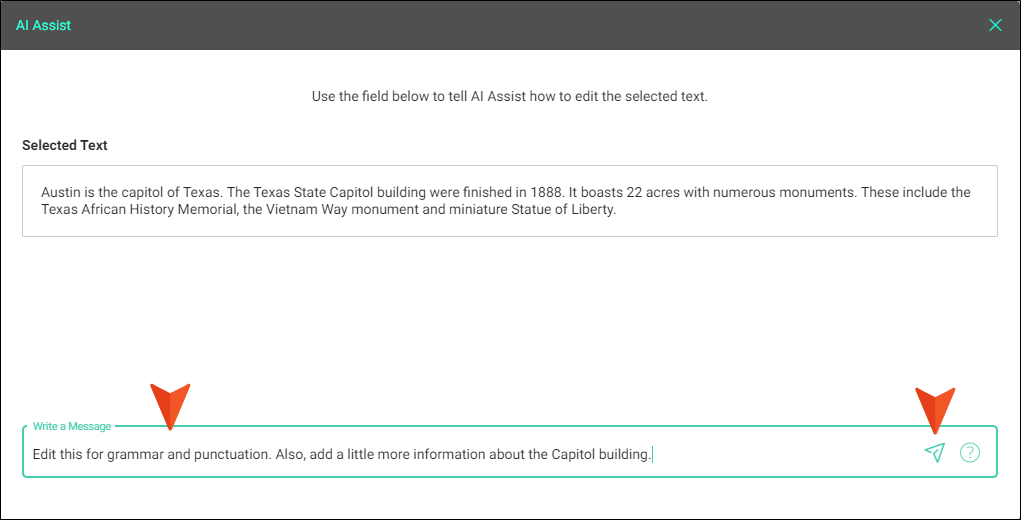
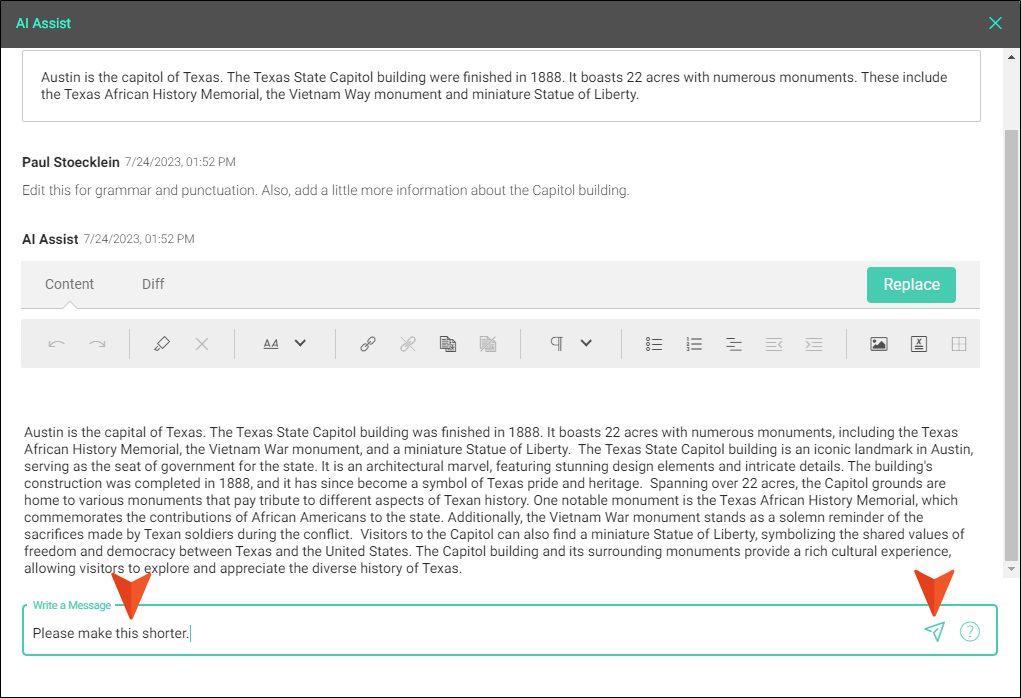
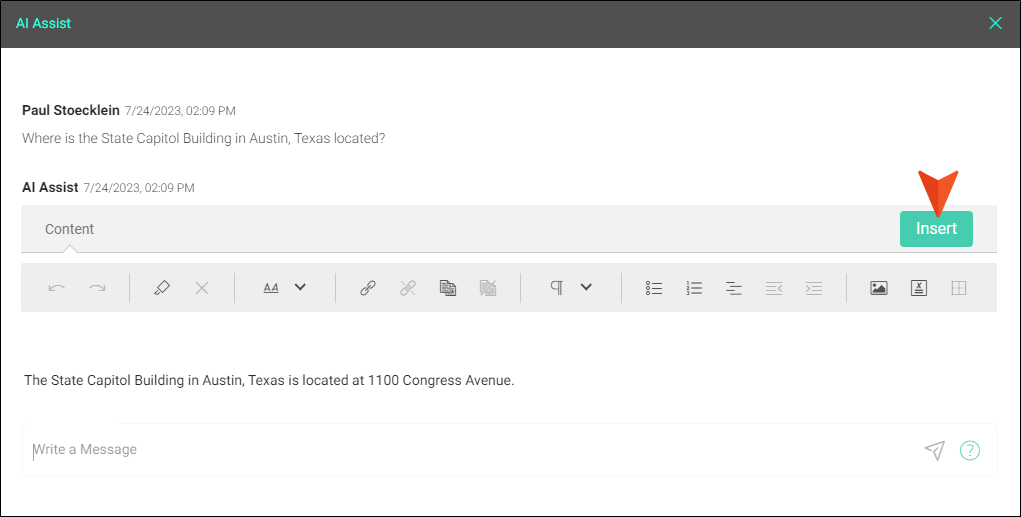
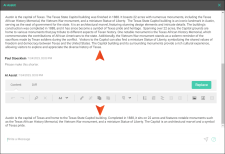
Enter text in the prompt and press ENTER or click
 .
.
Note If you want to enter more than one line in the prompt, press SHIFT+ENTER.
Note If you happen to enter prompt text that ChatGPT is not able to parse, you will see a small star in the results. You might try rewriting your prompt text.
-
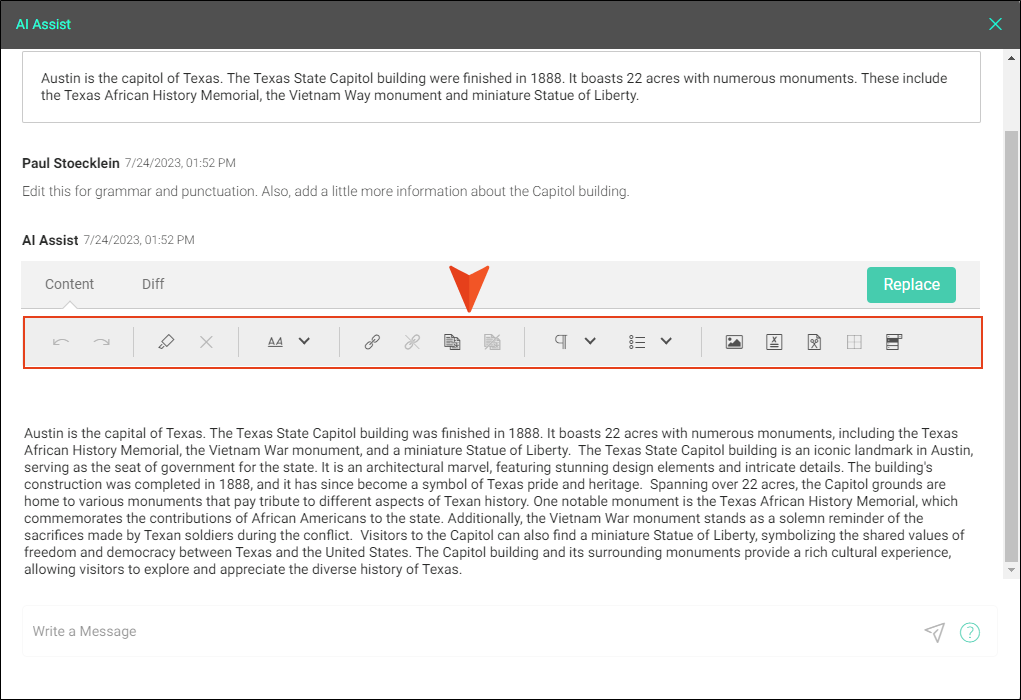
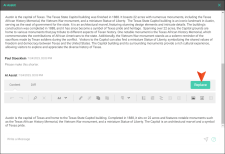
(Optional) You can do any of the following once you receive a response:
-
Use the toolbar to make edits to the response.

-
View the Diff (i.e., difference between the original and revised versions of the text), if you began by selecting text in the file. The original text is highlighted in red, and changed or added text is highlighted in green.

-
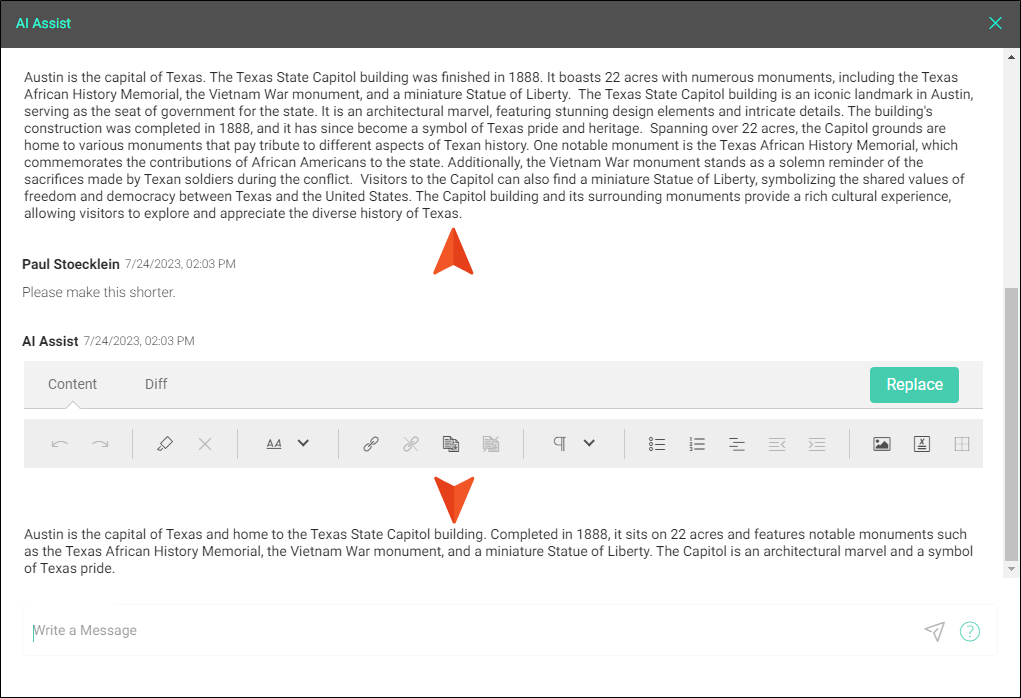
Submit another message to further refine the response.

-
-
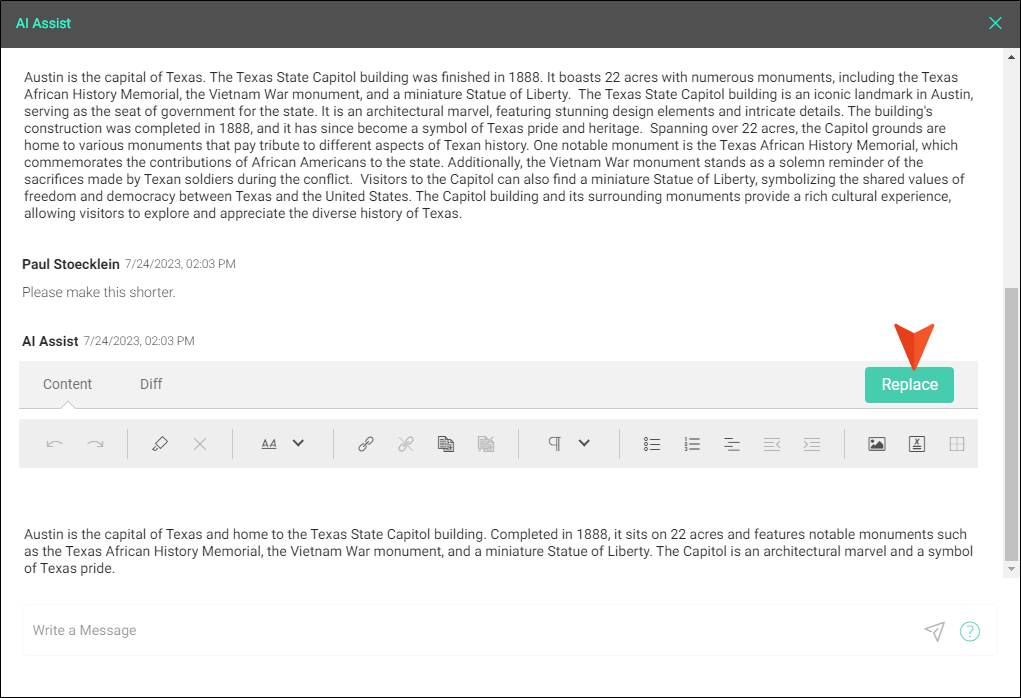
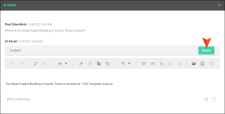
Each response in a thread will have access to the Diff and toolbar options, as well as a button to take action. If you want to add a particular response to your topic or snippet, click either Replace (if you initially selected text) or Insert (if you didn't).
-
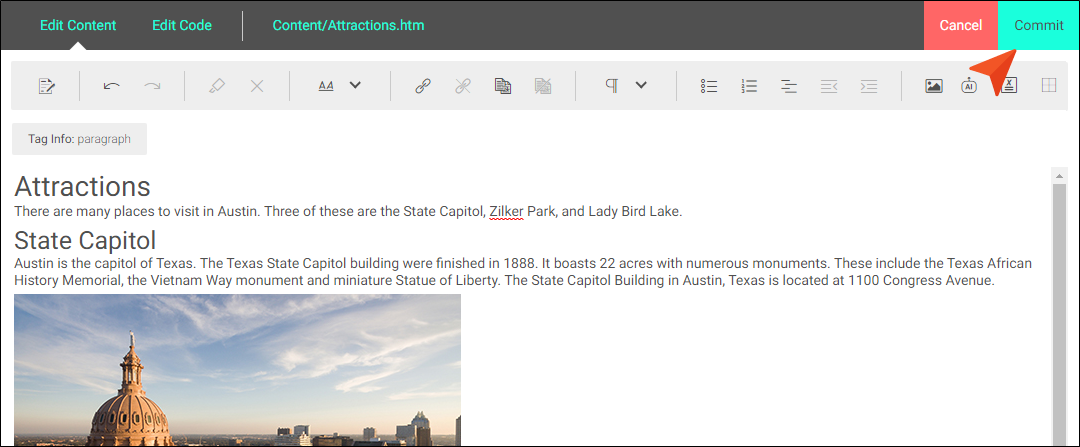
After you have replaced or inserted text from AI Assist, click Commit.

-
In the Create New Commit dialog, verify the new file path, and enter a Commit Message.
-
Click Commit.