


Within a condition tag set, you can create as many condition tags as you need.
[Menu Proxy — Headings — Online — Depth3 ]
Permission Required?
Editing content and project files is an activity available to users with the Author status. By default, users with Author status have the following permissions set:
-

If this is deselected, then viewing files in a read-only mode is allowed. On the left side of the page, the Files vertical three-dot menu is not available.
-

If this is deselected, the XHTML in the Code view is read-only.
Editing code is regarded as a capability for an advanced user. If not done properly, the code can become malformed quickly. Administrators can prevent users from editing the code by deselecting the Edit Code permission.
For more information about permissions, see Setting User Permissions or Setting Team Permissions.
How to Create a Condition
-
Open a project, and select the Files tab at the top.
-
From the left side of the page, with All Files showing, navigate to and select a condition file.
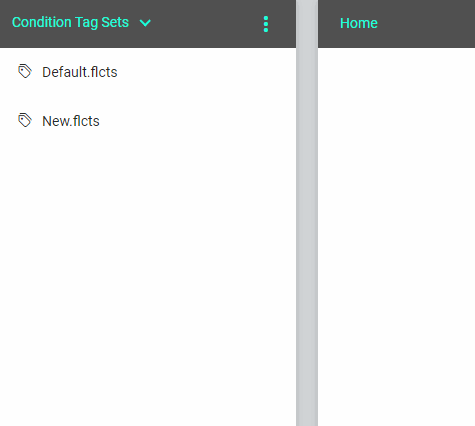
Tip Click the All Files drop-down, and select Condition Tag Sets. This filters only the condition files to display in the files panel.

-
In the Conditions Editor, click Edit.
-
In the local toolbar, select
 .
. -
In the Add Condition Tag dialog, provide a unique Name, select a Color, and (optionally) enter a Comment.

Note By default, the Name and Comment fields are empty, and the Color field is populated with a random value. You can keep the value or change it.
-
Click Add.
-
Click Commit. (Or click Cancel, to back out of the process.)
-
In the Create New Commit dialog, enter a Commit Message.
-
Click Commit.


If the animation below is cut off, you can see the complete animation by clicking the link under it to open the full topic.
What’s Next?
After you have created condition tags, you can apply condition tags to content. See How to Apply a Condition to Content.

