Editing Branding Stylesheets


You can open a branding stylesheet and edit the settings. The elements in the project that are associated with those branding variables will automatically display the changes when you build and view the output.
[Menu Proxy — Headings — Online — Depth3 ]
Permission Required?
Editing content and project files is an activity available to users with the Author status. By default, users with Author status have the following permissions set:
-

If this is deselected, then viewing files in a read-only mode is allowed. On the left side of the page, the Files vertical three-dot menu is not available.
-

If this is deselected, the XHTML in the Code view is read-only.
Editing code is regarded as a capability for an advanced user. If not done properly, the code can become malformed quickly. Administrators can prevent users from editing the code by deselecting the Edit Code permission.
For more information about permissions, see Setting User Permissions or Setting Team Permissions.
How to Edit a Branding Stylesheet
-
Open a project, and select the Files tab at the top.
-
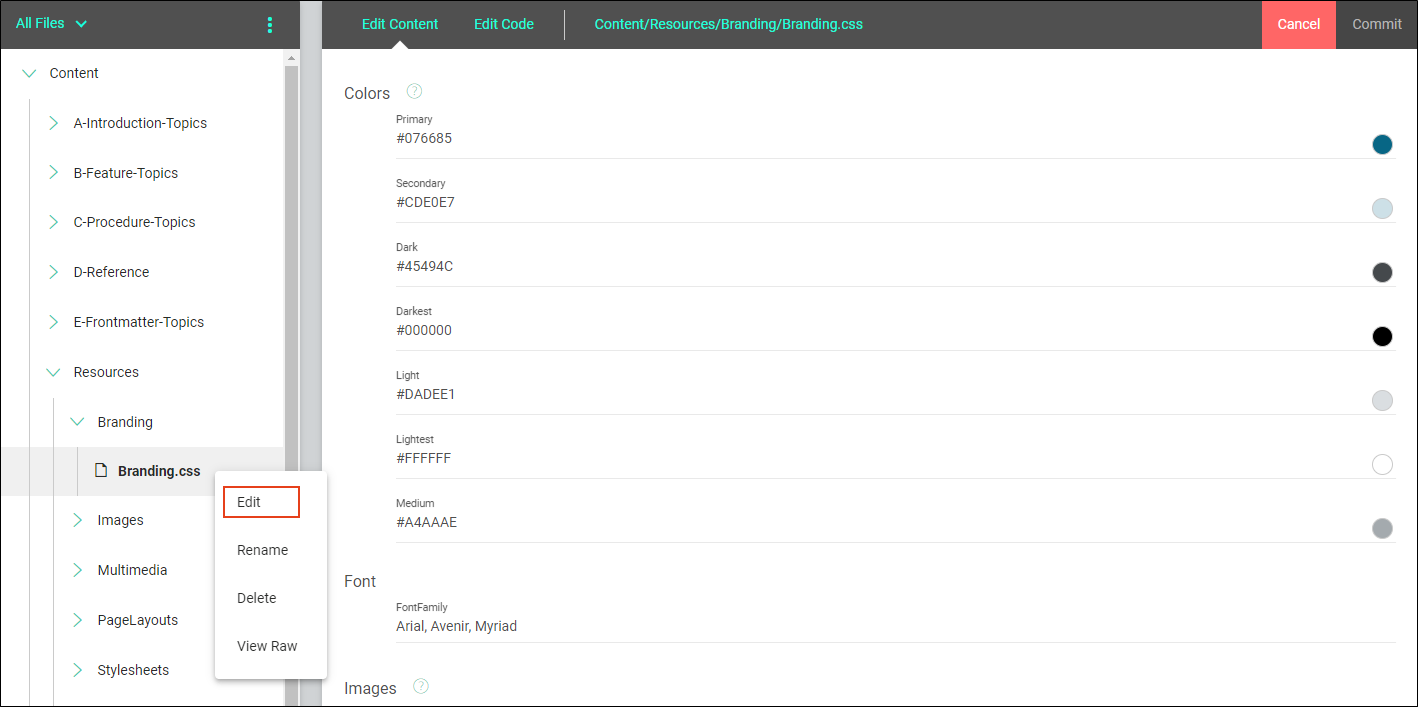
From the left side of the page, with All Files showing, navigate to and select a branding stylesheet file.
Tip Click the All Files drop-down, and select Stylesheets. This filters only the cascading stylesheet (CSS) files (or folders that might contain them).

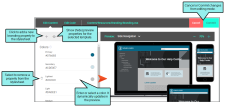
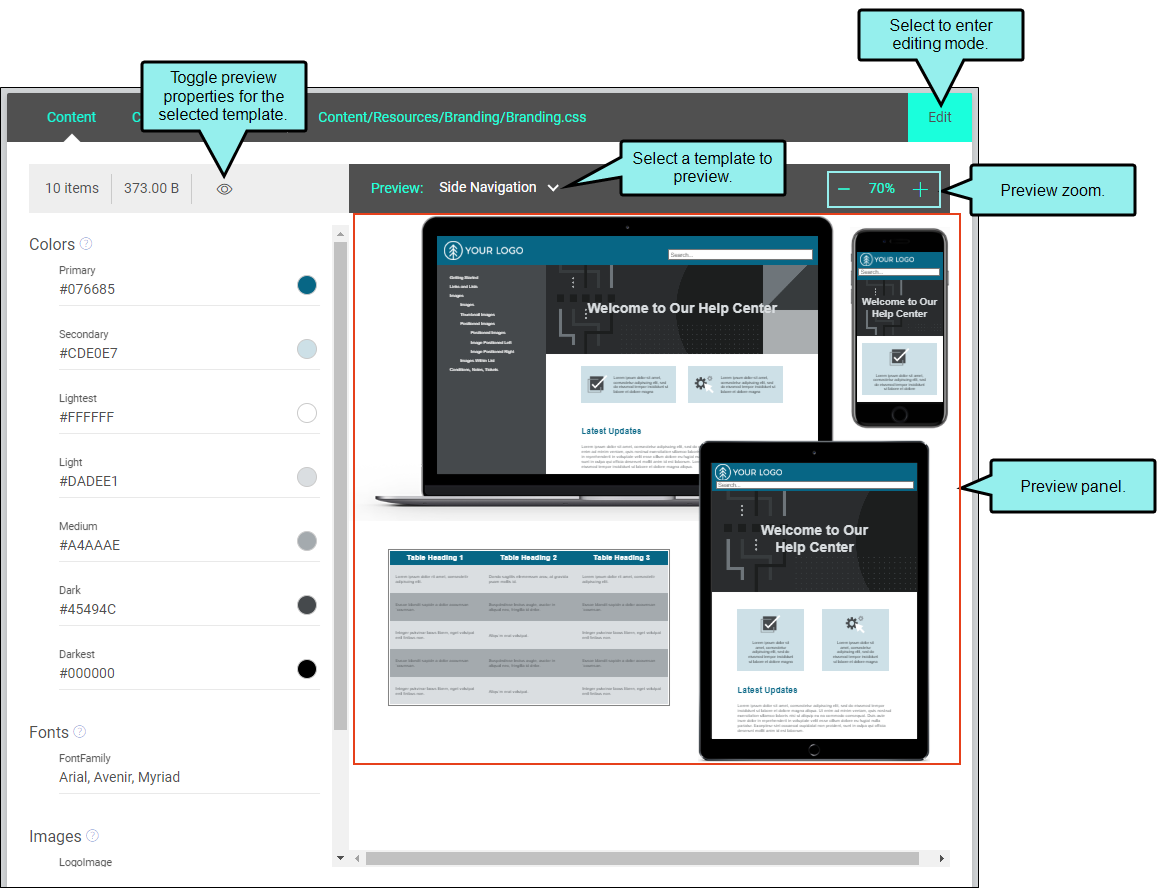
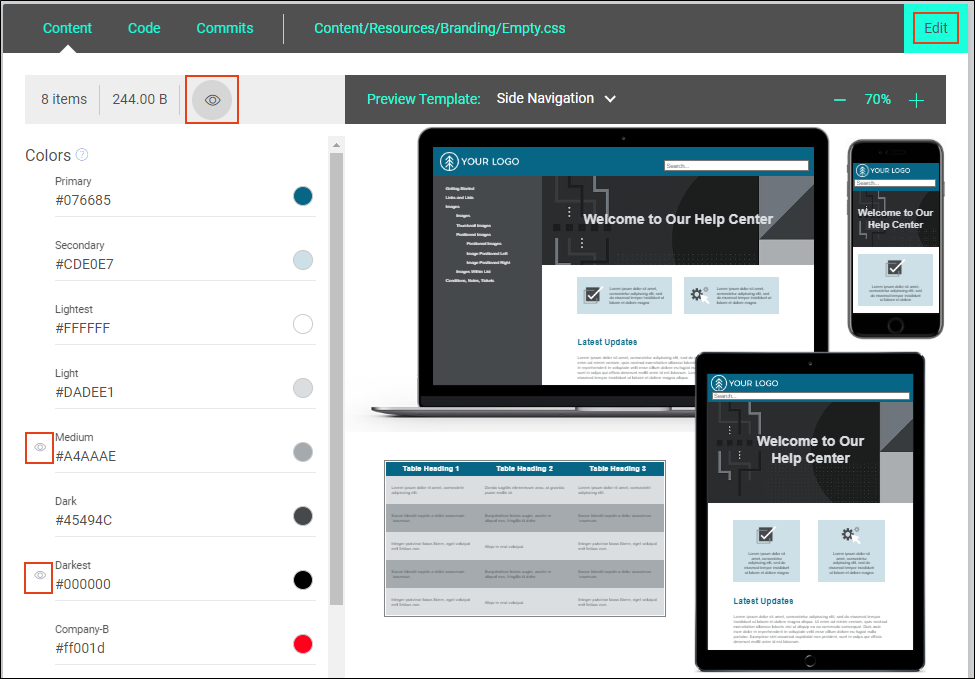
The editor displays on the right side of the page. Without being in editing mode, you can interact with a few options such as increasing or decreasing the zoom for the Preview, selecting a different template, and toggling default style properties of the selected template.

-
In the Branding Stylesheet Editor, click Edit.
Tip From the left side of the page, you can right-click to select and open a branding stylesheet directly in editing mode. From this menu, you can also rename, delete, or view raw (i.e., opens the file code in a browser).

-
In editing mode, you can update branding elements (e.g., color palette, logo, hero image, font), and see your choices update in the Preview. You can also manage branding properties in your stylesheet.
See How to Add a Branding Property, How to Add a Property from Another Template, How to Delete a Branding Property.
-
You can choose branding colors, a font family, logo, and hero image to apply to your project.
Colors
You can type a hexadecimal number (e.g., #000000) directly in the field, or you can click the circle to the right of the field to open a popup. From the popup, you can click to select a color.
- Primary The main brand color. For example, the primary color might impact H1 headings for some templates.
-
Secondary Another brand color.
-
Lightest The lightest color (e.g., white, off-white) for ancillary purposes.
- Light A light color for ancillary purposes.
-
Medium A medium color for ancillary purposes.
-
Dark A dark color for ancillary purposes.
-
Darkest The darkest color (e.g., black, dark gray) for ancillary purposes.
Note The branding colors are designed to progress from lighter to darker shades. The colors are used for the preview and throughout the rest of the project, so use caution when changing a color from one extreme to another. For example, if you change a lighter element to a darker color, this could display dark content on top of other dark content. For the best results, adhere to the gradient progression.
Tip You can change the colors from a light theme to a dark mode by selecting the reverse type of color that the color field suggests. For example, for the Lightest field you would select the darkest color and the Darkest field would be the lightest. It is a good idea to test the colors in the output to make sure they look the way you intend.
Font
-
FontFamily You can type a specific font family (e.g., Arial, Tahoma, Verdana) directly in the field. If you clear the field and click it, you can select from a variety of font families.
In addition, you can type a series of fonts (i.e., a font set) into the field, separated by commas. A font set is a collection of font families. You can create a font set in order to designate the substitute fonts to use when the preferred font is not available on the user's computer. If the first (i.e., preferred) font family in the set is not found on the user's computer, the second font family in the set is used. If the second font family is not found, the third font family is used, and so on. Because different types of computers and operating systems do not always have the same fonts, it is recommended that you try to include fonts that cover all of the circumstances.
Example You want to use Arial if possible. Therefore, you list that font type first in the font set. Next you might add a similar font that is found on Mac computers, such as Helvetica, since Macs might not use Arial. And third, you might add a generic font type, such as Sans-serif. So in the end you would enter Arial, Helvetica, Sans-serif.
Note When using a factory project template, a font family is automatically set for the body style in the regular stylesheet. All lower elements in the hierarchy use it. To use a different font for an element within body, you can change it in the regular stylesheet. For example, you might want to update the h2 and h3 styles to a different font (other than the inherited body style).
Images
-
HeroImage The main hero image shown on the home or cover page of the output. This lets you select an image for the background.
-
LogoImage The main logo of your company or product. This lets you select an image for the background.
-
LogoImagePrint The main logo of your company or product, intended for print-based output. This lets you select an image for the background.
-
BigLogo The main logo of your company or product. This is used only in Flare's Brochure factory template to display a large version of the logo in one of panels. By default it is set to use a PNG file, but you can select a different file format, including a vector image.
Note By default, image properties link to images from application resources.
-
Click Commit. (Or click Cancel, to back out of the process.)
-
In the Create New Commit dialog, enter a Commit Message.
-
Click Commit.


How to Add a Branding Property
-
Open a project, and select the Files tab at the top.
-
From the left side of the page, with All Files showing, navigate to and select a branding stylesheet file.
-
In the Branding Stylesheet Editor, click Edit.
-
In the local toolbar, click
 .
. -
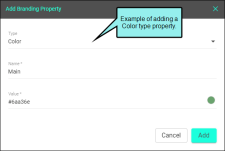
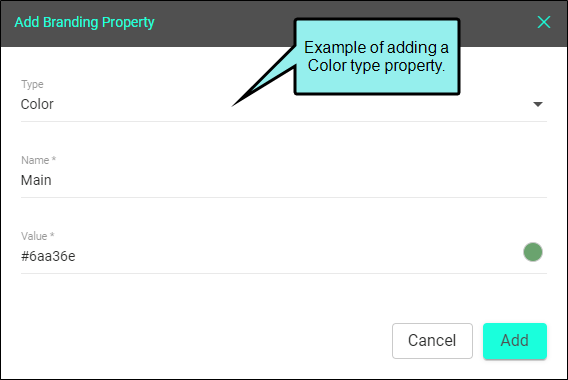
Complete the following in the Add Branding Property dialog.
-
Type From the drop-down, select the type of property to add to the branding stylesheet (i.e., Color, Custom, Font, Image).
-
Name Enter or select a name for the property.
-
Value Enter or select a value for the property. If you are adding a color, you can click
 for the color picker. If adding a font or an image, click the field to select a value from a drop-down. If adding a custom property, enter a value (e.g., another branding color that reinforces your organization's identity).
-
-
Click Add. The property displays in the Branding Stylesheet Editor.
-
Click Commit. (Or click Cancel, to back out of the process.)
-
In the Create New Commit dialog, enter a Commit Message.
-
Click Commit.
How to Add a Property from Another Template
When you preview another template in the Branding Stylesheet Editor, you can select branding elements that are not part of your project and easily add them to your stylesheet.
-
Open a project, and select the Files tab at the top.
-
From the left side of the page, with All Files showing, navigate to and select a branding stylesheet file.
-
In the Branding Stylesheet Editor, click Edit.
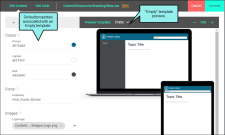
When you create a project, a template is selected. Factory templates include online, print, or tutorials (e.g., eLearning, Side Navigation, Top Navigation and PDF, Empty). The branding properties from the template selected display by default in the editor.
Example .
If you add a branding stylesheet to your project with an "Empty" template, you will see minimal branding options in the Branding Editor for colors, fonts, and images.
-
From the Preview Template drop-down, select another template to preview how your branding would look using that template.
-
In the local toolbar, click
 . If the selected template includes branding properties that are not in your project, an icon displays next to those properties.
Example To continue, if you select the toggle, the editor indicates colors, fonts, or images defined in the selected template in the preview, but not included in your current project. You can optionally select
 (Add to Stylesheet) to add them to your stylesheet.
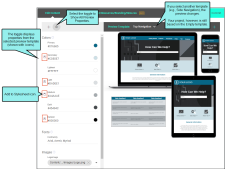
-
Click
, to add the property to your branding stylesheet. Properties that are added to your stylesheet are saved with their default values, but you can change those values if you want. You can then apply a new property to your project.Note Changing a value of a property defined in the template will add the property to the stylesheet automatically—even if you do not select Add to Stylesheet.
-
Click Commit. (Or click Cancel, to back out of the process.)
-
In the Create New Commit dialog, enter a Commit Message.
-
Click Commit.


Note If you are still viewing another template in the preview, but you have committed changes to the stylesheet (and are viewing the stylesheet outside of editing mode), the converts to a (Defined in Preview Template) icon. Once Edit is selected again, and the toggle is active, the icon switches back to .
Note If you click for a property, notice that the icon switches to  . You can remove the property from the branding stylesheet. Be aware that removing a property defined in a template does not delete it from the panel. This is because all properties defined in a selected template are always shown and will reset to default values if the values were changed.
How to Delete a Branding Property
-
Open a project, and select the Files tab at the top.
-
From the left side of the page, with All Files showing, navigate to and select a branding stylesheet file.
-
In the Branding Stylesheet Editor, click Edit.
-
Hover the cursor over any of the properties to the left of the preview. Notice a trash bin icon displays for the property.
-
Click
. This removes the property from the stylesheet. -
Click Commit. (Or click Cancel, to back out of the process.)
-
In the Create New Commit dialog, enter a Commit Message.
-
Click Commit.
What’s Noteworthy?
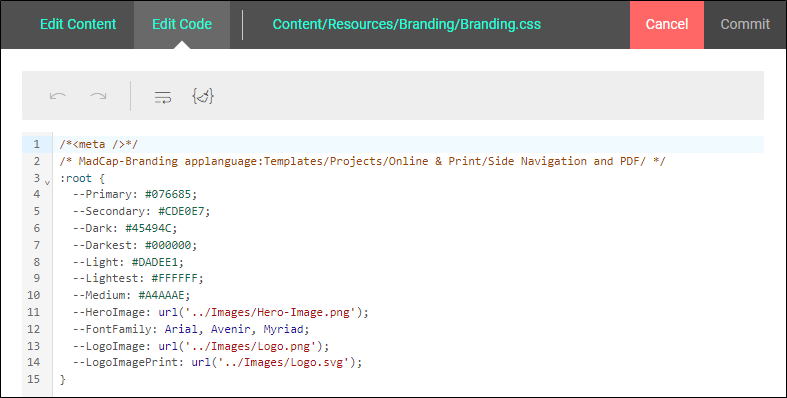
Note From the top of the interface, you can select Edit Code to add, edit, or remove items in the XML code directly. The editor only displays properties that it can edit. It is recommended that only more advanced authors use this editing mode.
Note When you add or change a property or value, it is saved to the branding stylesheet. If the regular stylesheet is using that property anywhere (i.e., CSS variable), then the update propagates to the regular stylesheet as well.
If a new property is added to the branding stylesheet, it is not likely associated with any style properties in the regular stylesheet, but it is "available" to use. You will have to do the following two things:
-
Apply the CSS variable to a style class or a skin using the Code Editor (this is due to current limitations in Central regarding stylesheet editing). You have to apply it because the style must be tied to or point to the CSS variable—this does not happen on its own behind-the-scenes.
-
Apply the CSS variable to content in your project. You need to make sure the content in the topic or snippet has the style (e.g., an h4 style) and the branding property and value applied to it. Central has limited style support, so depending on the style, you might be able to use the Content Editor or the Code Editor. (You can also use Flare.)
For more information about CSS and styles in a project, see the Flare online Help.
Note CSS variables are the foundation of branding functionality. The stylesheets in the project group together certain CSS variables (e.g., logo, hero image, font, color palette) that relate to branding. The branding values you identify in the Branding.css file are those associated with those CSS variables in the project.

