Specifying PDF Options

Note Only the most common target options are available in Central. For all of the additional target options—and to add or edit targets for the other output types not supported in Central—you need to use Flare.
There are several options specific to PDF targets that you can use to control the document properties, copyright information, initial view, and tagging for the output.
[Menu Proxy — Headings — Online — Depth3 ]
Permission Required?
Editing content and project files is an activity available to users with the Author status. By default, users with Author status have the following permissions set:
-

If this is deselected, then viewing files in a read-only mode is allowed. On the left side of the page, the Files vertical three-dot menu is not available.
-

If this is deselected, the XHTML in the Code view is read-only.
Editing code is regarded as a capability for an advanced user. If not done properly, the code can become malformed quickly. Administrators can prevent users from editing the code by deselecting the Edit Code permission.
For more information about permissions, see Setting User Permissions or Setting Team Permissions.
How to Specify PDF Options
-
From the Projects page (Files tab), open a PDF target and in the upper-right click Edit.
-
On the left, select PDF Options.
-
Complete the options as necessary.
Note If you want to insert a variable in a field, you can click
 . The variable will appear as syntax in the field, but in the output the variable definition will be shown.
-
Document Properties
-
Title Enter the title for the PDF document. This information is included in the final PDF output (e.g., shown in the file properties). The same is true for the Author, Subject, and Keywords fields.
-
Author Enter the name of the author.
-
Subject Enter the subject of the document.
-
Keywords Enter any keywords for the document.
-
-
Copyright You can add copyright metadata to your PDF output, providing information about the document's status (Unknown, Copyrighted, Public Domain), notice text, and a URL for information. However, this information can be accessed only if you are using Adobe Acrobat Pro to view the output (by selecting Properties > Additional Metadata).
-
Initial View
-
Magnification Select the default size for displaying the PDF output when an end user opens it (e.g., actual size, fit page, fit width, a specific percentage).
-
Navigation Select how you want the output to be displayed by default when it comes to navigation features (Page Only, Bookmarks Panel and Page).
-
Page layout You can select any of the following options to set the page layout that the reader initially sees when opening the PDF.
-
Single Page This displays one page at a time, with no portion on other pages visible. When you slide the scroll bar, the current page does not scroll; instead, the next page appears quickly.

-
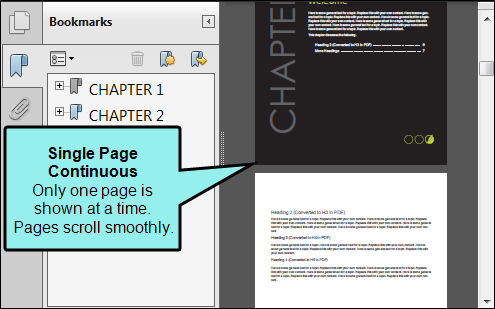
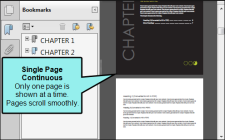
Single Page Continuous This displays pages in a continuous vertical column that is one page wide. When you slide the scroll bar, the current page scrolls until the next page smoothly comes into view.
-
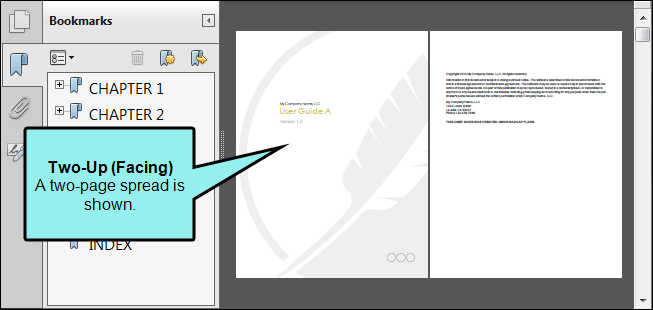
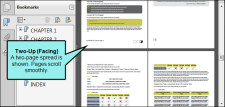
Two-Up (Facing) This displays each two-page spread with no portion of other pages visible. When you slide the scroll bar, the current pages do not scroll; instead, the next pages appear quickly.

-
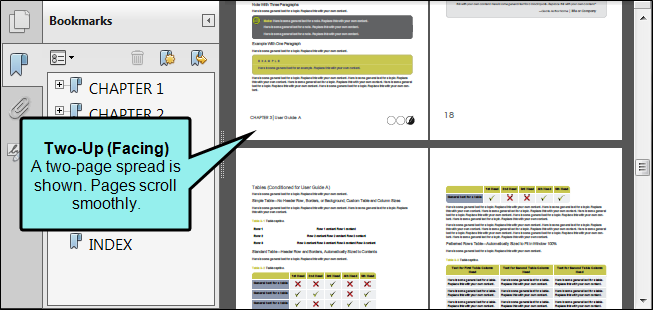
Two-Up Continuous (Facing) This displays facing pages side by side in a continuous vertical column. When you slide the scroll bar, the current pages scroll until the next pages smoothly come into view.
-
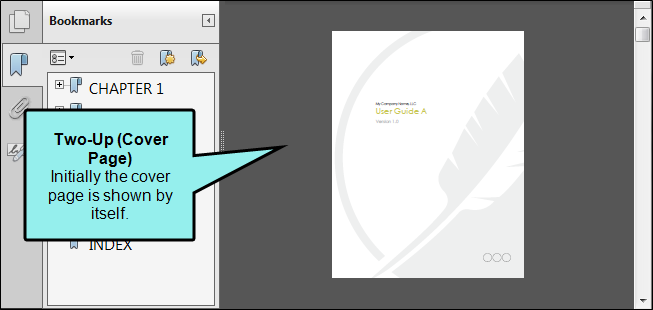
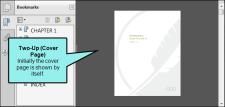
Two-Up (Cover Page) This displays the first page by itself. After that it displays each two-page spread with no portion of other pages visible. When you slide the scroll bar, the current pages do not scroll; instead, the next pages appear quickly.
-
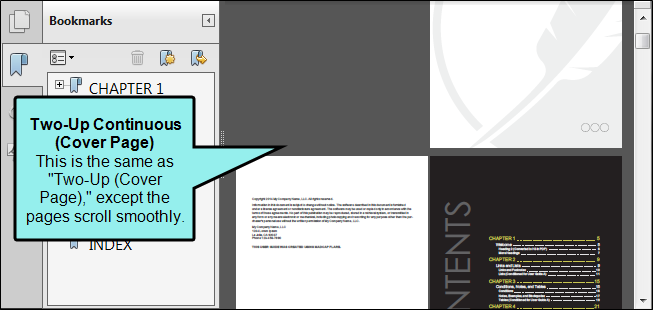
Two-Up Continuous (Cover Page) This displays the first page by itself. After that it displays each two-page spread with no portion of other pages visible. When you slide the scroll bar, the current pages scroll until the next pages smoothly come into view.
-
-
Title bar You can select one of the following to determine the text shown in the title bar of the PDF output.
-
File Name This is the text specified in the Output File field on the General
-
Document Title This is the text specified in the Title field on the PDF Options
-
-
Collapsed bookmarks Select this if you want the bookmark folders to be collapsed initially in the bookmark panel of the output.
-
Open in full screen mode Select this if you want the output to be displayed initially in full screen mode, taking over the reader's entire screen.
-
-
Tagging
-
Generate tagged document for PDF/UA Select this to generate a tagged PDF. This gives the file a structure similar to that of the source XHTML documents. This structure is necessary for certain accessibility applications, including screen readers. For more information about viewing the tag structure in third-party tools (e.g., Adobe Acrobat Pro), please refer to the documentation provided with that application.
-
-
-
Click Commit. (Or click Cancel, to back out of the process.)
-
In the Create New Commit dialog, enter a Commit Message.
-
Click Commit.