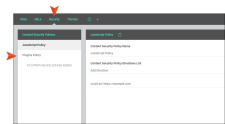
Security Page View
The Security view of the Sites page lets you create custom security policies. These policies can contain as many directives for security headers as you need.
Note MadCap Central provides some security headers by default, and these cannot be removed
[Menu Proxy — Headings — Online — Depth3 ]
Permission Required?
For this activity, you must have the following permission setting:

For more information about permissions, see Setting User Permissions or Setting Team Permissions.
Why Add Content Security Policies?
The most obvious reason to add your own content security policies is that it makes your hosted output more secure by giving you control over which dynamic resources can be loaded. Also, your company might need the hosted output to pass certain compliance testing, and setting up your own directives for security headers will help.
What About Pre-existing Trusted Domains?
If you previously set up a trusted domain on your license, you'll notice that Central has automatically converted it to the appropriate directive (e.g., frame-ancestors 'self' https://somecompany.com).
How to Create a Content Security Policy
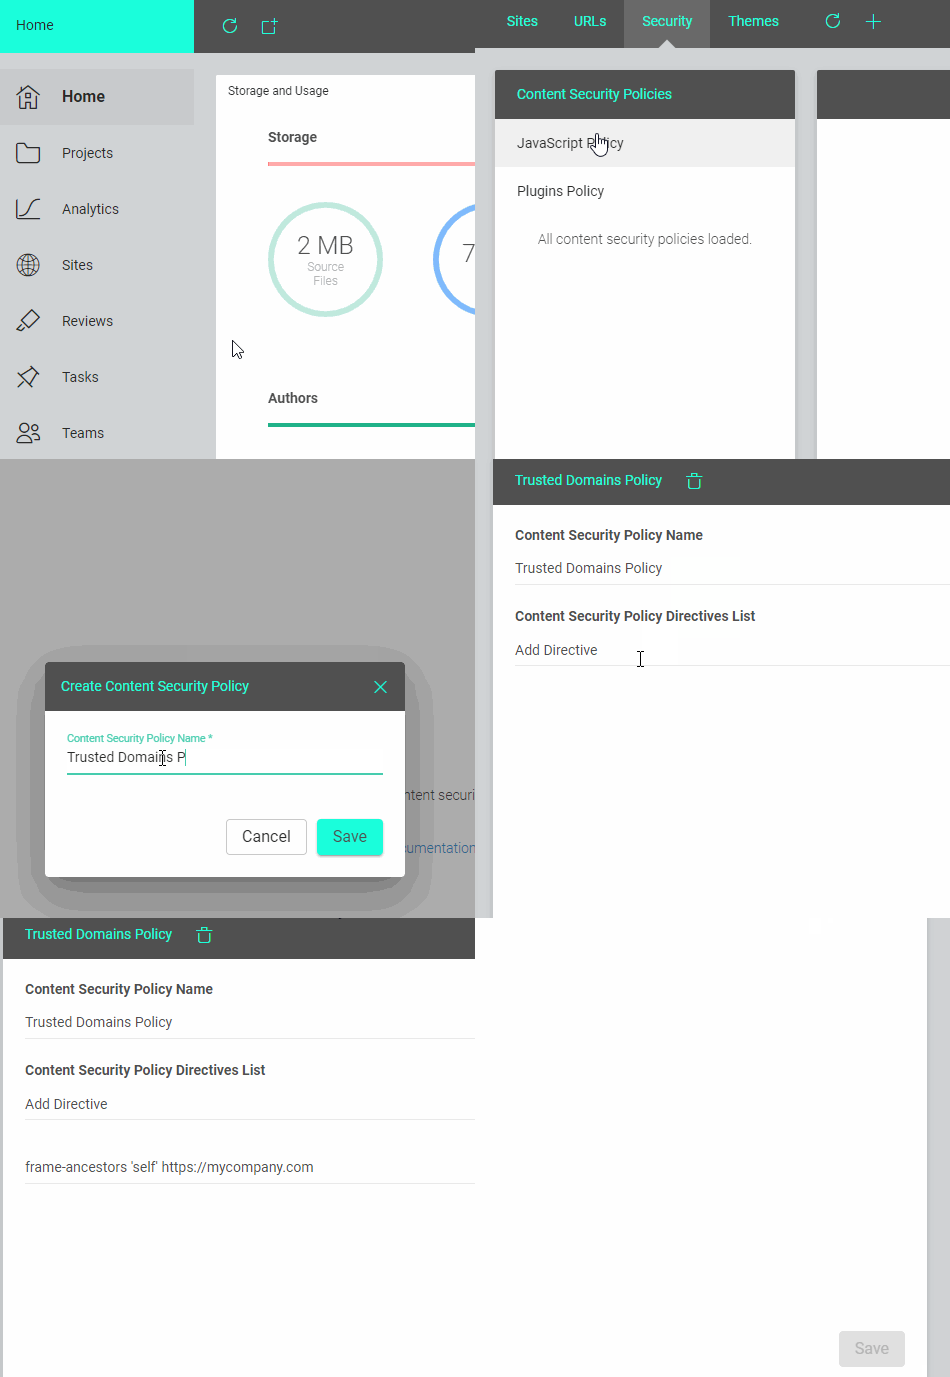
- On the left side of the interface, click Sites.
- Select the Security tab at the top.
- In the toolbar, click
 .
. - Enter a name for the policy.
-
Click Save. The policy is added on the left side of the page.
-
Under Content Security Directives List, click Add Directive.
-
Type the directive, and then on the right click
 .
.Note You can type multiple directives on the same line, adding a space between each one. Otherwise, you can add a separate line for each directive.
-
At the bottom of the interface, click Save.
-
You can repeat the previous three steps to add as many directives as you need for that policy.
If the animation below is cut off, you can see the complete animation by clicking the link under it to open the full topic.

Note If you need to rename the policy, you can do so by typing a new name in the Content Security Policy Name field, then clicking Save at the bottom.
Directive Examples
There are many types of directives that you can add for security headers.
Examples
Trusted Domain
frame-ancestors 'self' https://somecompany.com
JavaScript Source
script-src https://example.com
Plugin Source
object-src 'self'
Example Trusted Domain
The documentation team at MadCap Software has some online output hosted on their Central license. The company's web manager wants to add an IFrame to the madcapsoftware.com website that displays a page of the documentation team's Central-hosted output.
On Central the documentation team creates a content security policy and names it "Trusted Domains Policy." They add the following directive in that policy:
frame-ancestors 'self' https://madcapsoftware.comThis allows the madcapsoftware.com website to display that content, which is hosted on Central.
Note A couple of good sources for explanations and examples of various types of content security directives are:
What’s Next?
After you create a content security policy, you can associate it with a site, and this will be shown in a column on the Sites page.


