Rolling Back to a Previous Live Output
Periodically, it is possible that you need to roll back to a previous build that was associated with a live site. For this reason, Flare automatically sets previous live builds to "keep." You can also set builds to "keep" manually
[Menu Proxy — Headings — Online — Depth3 ]
Permission Required?
For this activity, you must have the following permission setting:

For more information about permissions, see Setting User Permissions or Setting Team Permissions.
How to Roll Back to a Previous Live Output
- First, you need to know which build you want to roll back to. So select Projects on the left side of the interface, then click a project name to open it.
- At the top of the page, click Builds.
-
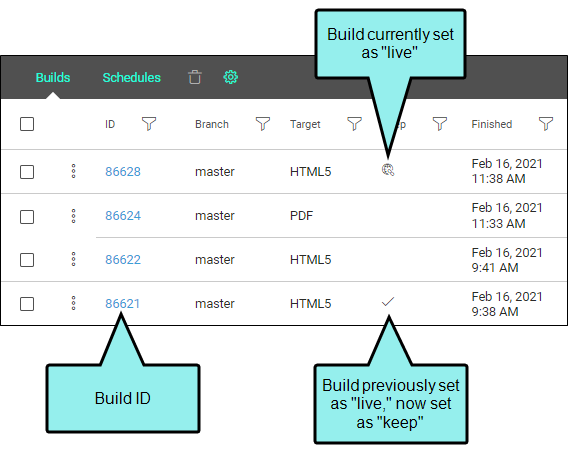
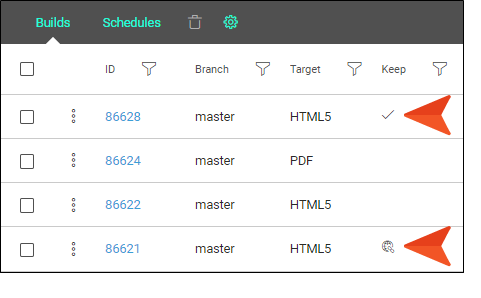
In the grid, look for the keep icon
 next to the build that was previously set as "live." Make note of the ID for the build.
- On the left side of the interface, click Sites.
- Click the name of the site you want to edit.
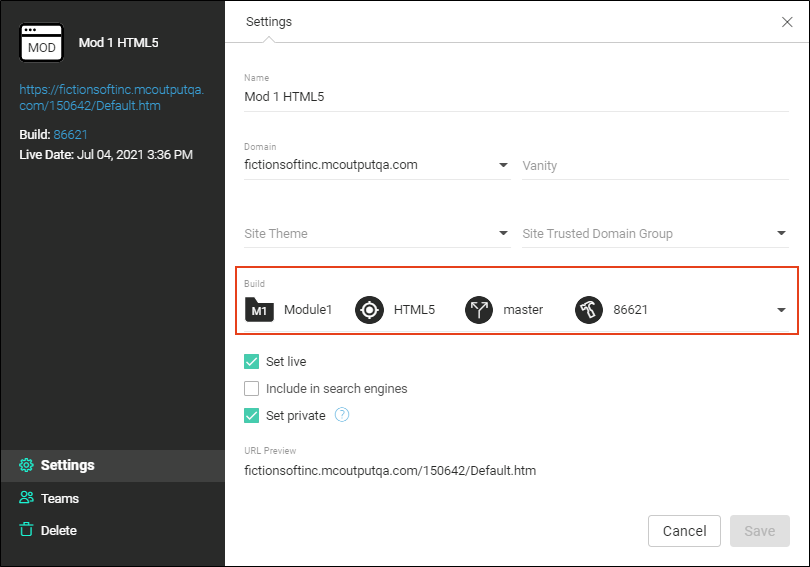
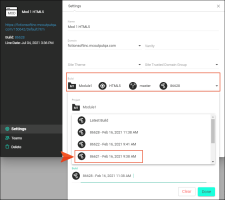
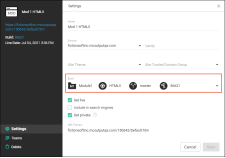
- On the Settings page, click the Build drop-down.
-
From the Build field at the bottom, select the build that was previously used for the live output (i.e., the one with the ID that you noted on the Builds page).
-
Click Save. That build is now associated with the live site.
On the project's Builds page, notice that the live link icon
 is shown next to the build you selected, and the previously live build now has the keep icon next to it.
If you want to delete the build that you replaced, you can remove the keep setting on it (by clicking the three dots next to it and from the menu selecting Toggle Keep), and then remove the build.