Setting Site Vanities
After you generate a target and set the associated site to “live,” an ID is auto-generated to represent the target and build, and this is added to the URL, along with the entry file for the output (e.g., Default.htm).
Example
https://fictionsoft.mcoutput.com/64951/Default.htmHowever, you can set a vanity for the output to produce a more meaningful URL that is easier to recognize when the site is live. This is also useful if you have multiple versions of a target's output and want to have a different URL for each version.
Example
https://fictionsoft.mcoutput.com/module1-v1/Default.htm[Menu Proxy — Headings — Online — Depth3 ]
Permission Required?
For this activity, you must have the following permission setting:

For more information about permissions, see Setting User Permissions or Setting Team Permissions.
How to Set a Vanity for a Site
- On the left side of the interface, click Sites.
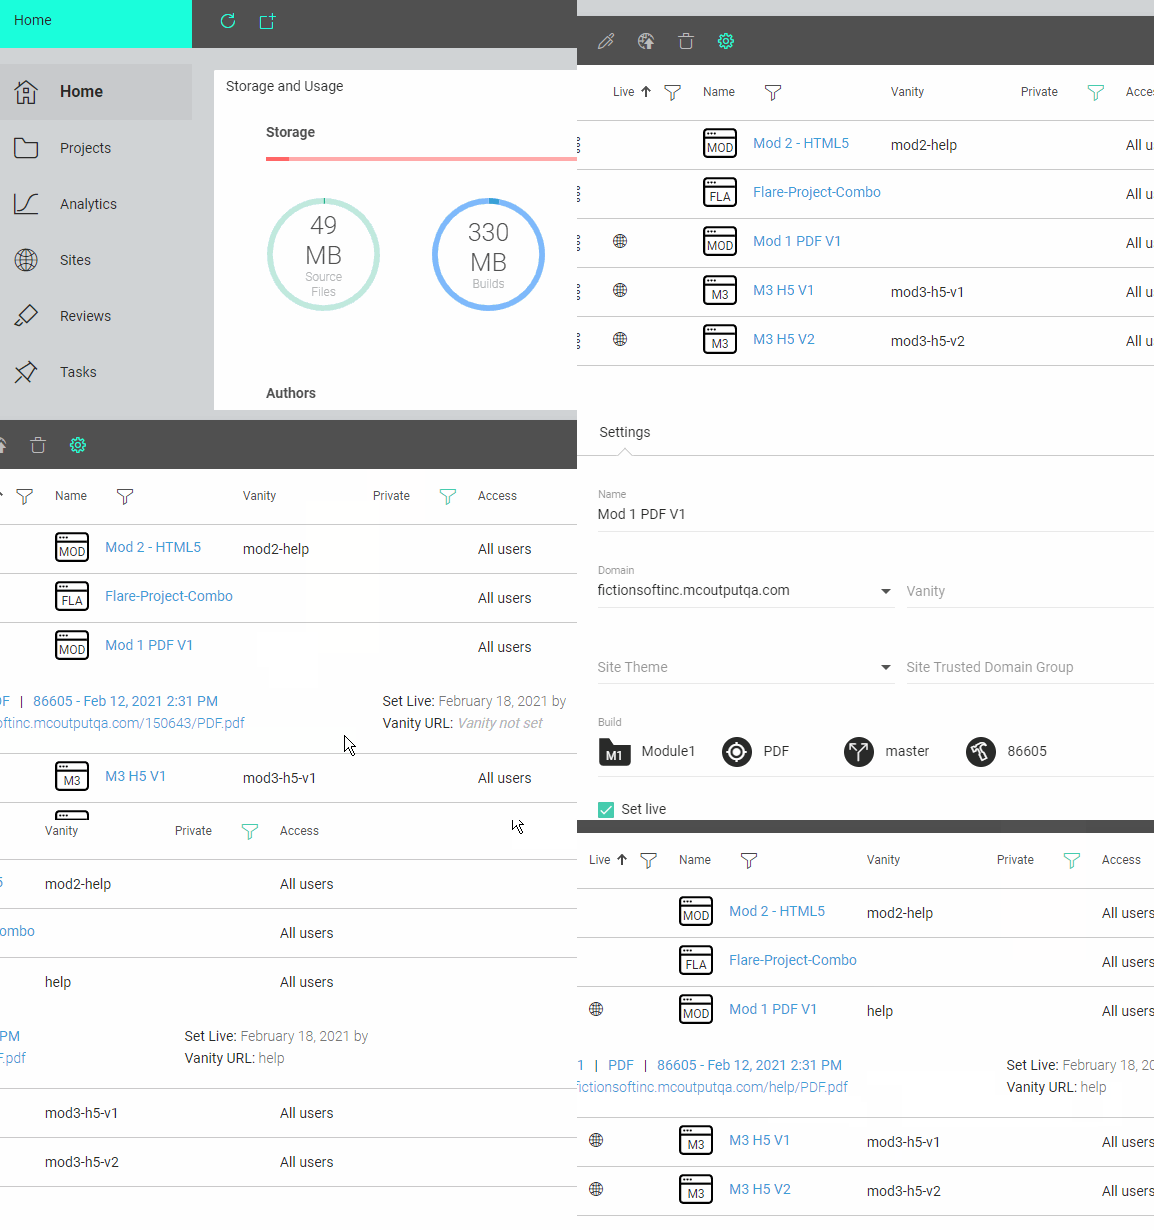
- With the Sites tab selected at the top, click the name of the site you want to edit.
-
On the Settings page, complete the Vanity field.
Note Only alphanumeric characters, periods, underscores, and hyphens are allowed.
- Click Save.
If the animation below is cut off, you can see the complete animation by clicking the link under it to open the full topic.
Example Your company has a product called FictionSoft Pro, and it consists of multiple modules. Your documentation team has therefore created a different project for each of those modules. Suppose that you are in charge of the Module 3 project.
Periodically, your company releases a new version of the software. As a technical writer, you need to produce documentation for each of those releases.
In your Flare Module 3 project, you have an HTML5 target that you use to produce an online Help system. Instead of creating a different target for each release, you want to just keep using the same target.
You upload your Flare Module 3 project to Central, and you build output for it.
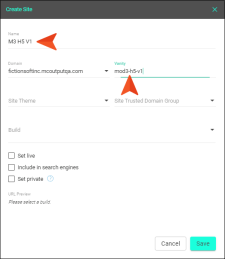
You want this Module 3 Version 1 documentation to have a unique path, different than the paths for other modules, and different than later versions of Module 3. So you create a new site for this output. You decide to name it M3 H5 V1, and you give it a vanity with a similar name: mod3-h5-v1.
The first part of this name/vanity (mod3) refers to the project name (Module 3), to keep it distinct from the other projects. The second part (h5) refers to the kind of target (HTML5), to keep it distinct from the many PDFs you will also be producing for that project. And the third part (v1) refers to the version number (Version 1), to keep it distinct from later versions.
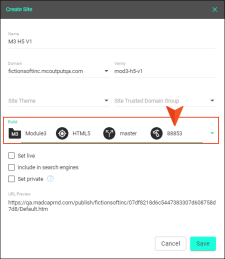
When selecting the build, you choose the Module 3 project, the HTML5 target, and the master branch. Finally, you choose the build that you know is ready for publication.
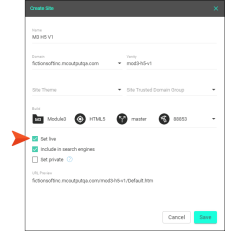
You also click Live to make the output available to your audience.
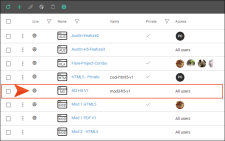
After clicking Save, the profile opens. You close the profile and see the site has the live icon next to it.
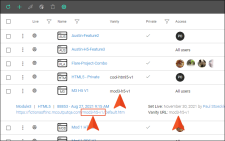
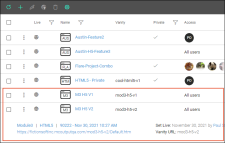
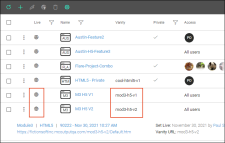
When the site row is expanded, you notice that the URL has the site vanity. This is also indicated in the Vanity column of the grid.
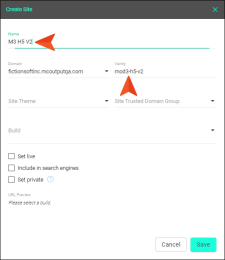
Sometime later, you are ready to publish output for Version 2. So you push your changes up to Central and build the target again. You also create a new site and name it similar to the first one, except with a reference to Version 2 (M3 H5 V2). And it also has a site vanity named in the same way: mod3-h5-v2.
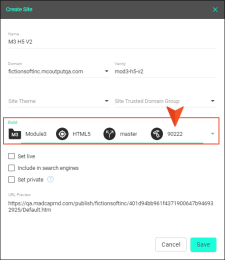
When selecting the build, you choose the Module 3 project, the HTML5 target, and the master branch. But this time, you choose the newer build for Version 2 that you know is ready for publication.
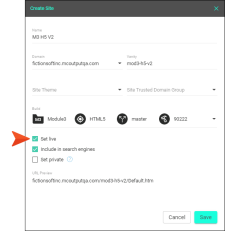
You also click Live to make the output available to your audience.
After clicking Save, the profile opens. You close the profile and see the new site next to the previous one.
The grid columns show that the two builds from the same target are using different URLs, and both are set to "live."

