Setting Sites as Live
You can set a site (i.e., destination output) as "live," which means it is published and therefore immediately be viewable by the public (or to certain individuals only if you make the site private).
[Menu Proxy — Headings — Online — Depth3 ]
Permission Required?
For this activity, you must have the following permission setting:

For more information about permissions, see Setting User Permissions or Setting Team Permissions.
How to Set a Site as Live
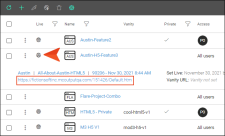
- On the left side of the interface, click Sites.
-
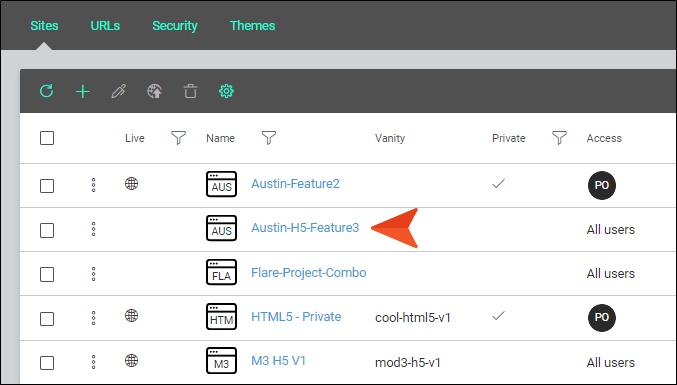
With the Sites tab selected at the top, click the name of the site that you want to set as "live."
-
On the Settings page, click the Build field and select the project, branch, target, and build you want to be associated with the live site.
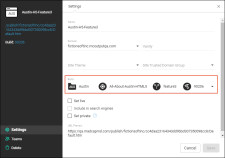
Tip Unless the live site is also set as private and intended for internal purposes in your company, it is recommended that you associate the live site with a specific build when creating or editing the site, rather than choosing the "Latest Build" option. Otherwise, a build that isn't yet ready to be published might end up being the live output that your customers see.
-
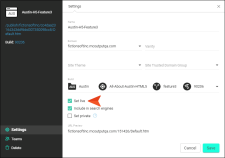
Select Set live.
-
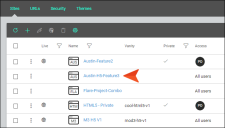
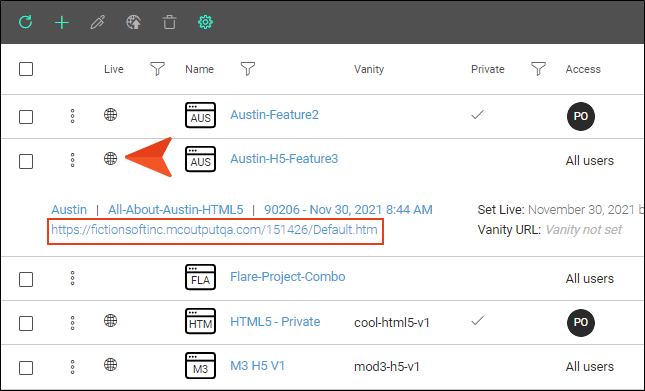
Click Save and close the profile. An icon is shown next to the site, and if you click the row to expand it, the URL for the published output is shown.
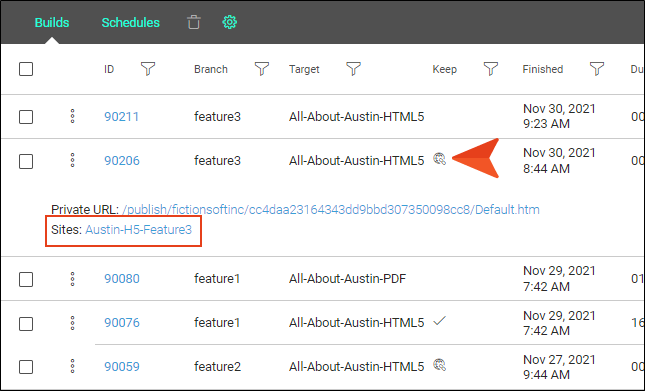
Also, if you look on the Builds page for projects, you will see a live link icon
 in that build row. This icon indicates that the build is associated with a live site, but that the live status is not set here, but rather on the Sites page.


If the animation below is cut off, you can see the complete animation by clicking the link under it to open the full topic.