Creating Checklist Templates
You can create checklist templates to save time when adding new checklists. When you create a new checklist, you can base it on any of your saved templates. This is quite useful when you are creating many checklists that share the same type, description, columns, rows, or notes. Rather than typing all the information manually, the template populates the relevant fields automatically.
Checklist templates are available across all projects that you upload to Flare Online.
Example You have a product release "To Do” checklist that you use every time you publish updated documentation for each of your company’s products. The checklist has just one column to indicate whether a particular task has been completed. However, there are about a dozen rows listing things you need to accomplish as part of the product release. Also, some of the rows have detailed notes that provide more explanation of what needs to be done.
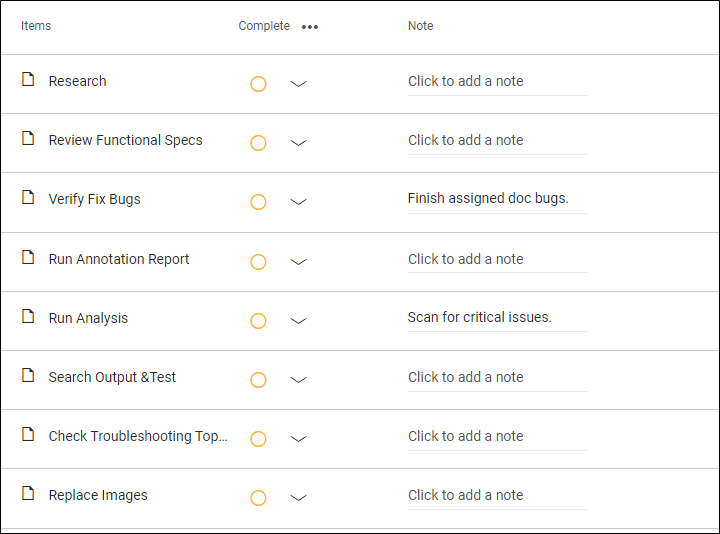
If you were to completely re-create that checklist from scratch each time you had a product release, you would spend a lot of time typing (or copying and pasting) the same information repeatedly. Therefore, you create a template that includes the necessary checklist type, description, columns, rows, and notes.
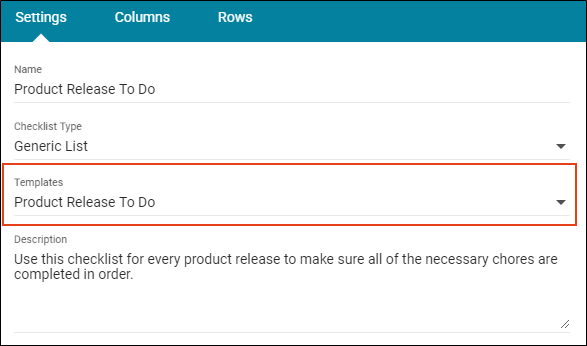
Then, whenever you need to create a new product release checklist, you select your template. Subsequent screens in the wizard auto-fill based on the template.
[Menu Proxy — Headings — Online — Depth3 ]
Permission Required?
To create, edit, or delete checklists or checklist templates, you must have the following permission setting:

Note Users associated to the project without the permission can mark items on the checklist (i.e., changing statuses) and can click to add a note for a particular row.
How to Create a Checklist Template
- Select Projects on the left side of the interface, then click a project name to open it.
- At the top of the interface, click Checklists.
- In the toolbar click
 .
. - Click
 in the Template Manager to add a new template. The wizard opens.
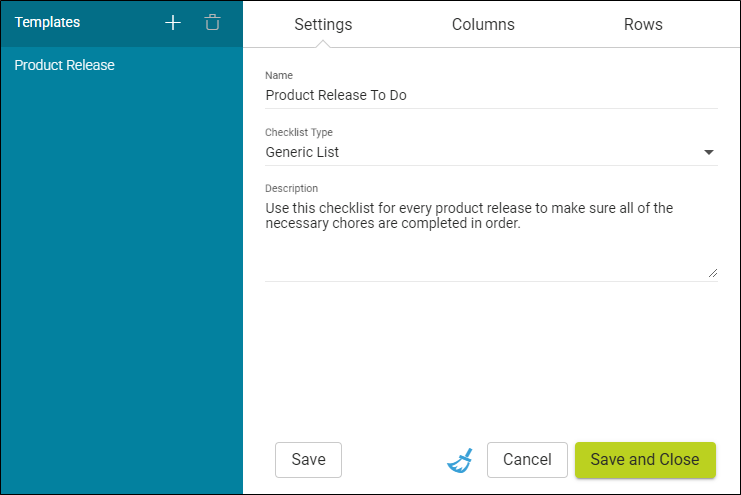
 - Complete the Name field.
-
From the Type field, select a generic list or project files checklist type.
- Project Files This lets you add a checklist where the rows are based on files from your project. Most commonly, these kinds of checklists will be used to track the progress of topics as you edit them, but you can create checklists that include any other kinds of files from the project (e.g., template pages, images, TOCs, targets, skins).
- Generic List This lets you add a checklist where each row is manually created. The checklist can pertain to anything you want.
- (Optional) You can complete the Description field if you want a more detailed explanation of the checklist for yourself and other writers on your team.
-
For Columns, create columns by typing a label in the text box and pressing ENTER or clicking
 . Repeat this for each column you want to add. You can use the up and down arrows to change the order of the columns (the column at the top of the dialog will appear at the far left in the checklist, and the column at the bottom will appear at the far right).
 -
If you selected Generic List, complete the Rows tab in the same way that you created the columns. The only difference is that you can also complete an Add Note field for each row.
Note The Rows tab is not available if you selected Project Files. This is because the files will be different with each project where you might be using the project checklist template.
- Click Create Checklist Template. The template name appears on the left side of the interface, and is now available to select when creating a checklist.
How to Save an Existing Checklist as a Template
- Select Projects on the left side of the interface, then click a project name to open it.
- At the top of the interface, click Checklists.
- On the left side of the page, select the checklist you want to save as a template. The checklist grid and chart are displayed to the right.
-
In the toolbar click the name of the checklist or the checklist avatar.
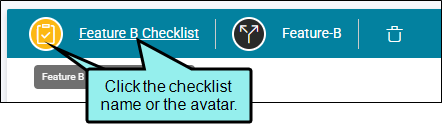
The Edit Checklist profile opens.
- Click Settings, Columns, or Rows to make any changes to the checklist that you want. For more details about each option, see Creating Checklists.
- Click Save to keep your changes.
- On the left side, click Save as Template. This opens and populates the wizard with values from the current template. At a minimum, assign a new name and proceed to create the template.
Other Template Options
When working in the Template Manager, there are a few more things you can do.
|
Option |
Description |
|---|---|
|
|
Lets you create a new template |
|
|
Populates the wizard with checklist settings to duplicate the template. |
|
|
Deletes the selected template |


