Editing With Multiple Authors
For multiple authors editing the same file at the same time, the following workflow serves as a guide.
[Menu Proxy — Headings — Online — Depth3 ]
Permission Required?
Editing content and project files is an activity available to users with the Author status. By default, users with Author status have the following permissions set:
-

If this is deselected, then viewing files in a read-only mode is allowed. On the left side of the page, the Files vertical three-dot menu is not available.
-

If this is deselected, the XHTML in the Code view is read-only.
Editing code is regarded as a capability for an advanced user. If not done properly, the code can become malformed quickly. Administrators can prevent users from editing the code by deselecting the Edit Code permission.
In addition, AI Assist involves the following permissions:
-

This is required to integrate a ChatGPT account with a Flare Online license in the license settings.
-

This is required to use AI Assist (and therefore ChatGPT) when modifying topics and snippets.
Note Even if this permission is enabled, ChatGPT does not scan anything on your computer. The only information ChatGPT can acquire from you is what you enter manually into the prompt when using AI Assist. If your company has strict policies against AI or ChatGPT, simply do not use it.
For more information about permissions, see Setting User Permissions or Setting Team Permissions.
Multiple Authors - How to Edit an Existing File
-
On the left side of the Flare Online interface, click Projects.
-
Select a project to open it.
-
Click the Workspace tab at the top of the screen.
-
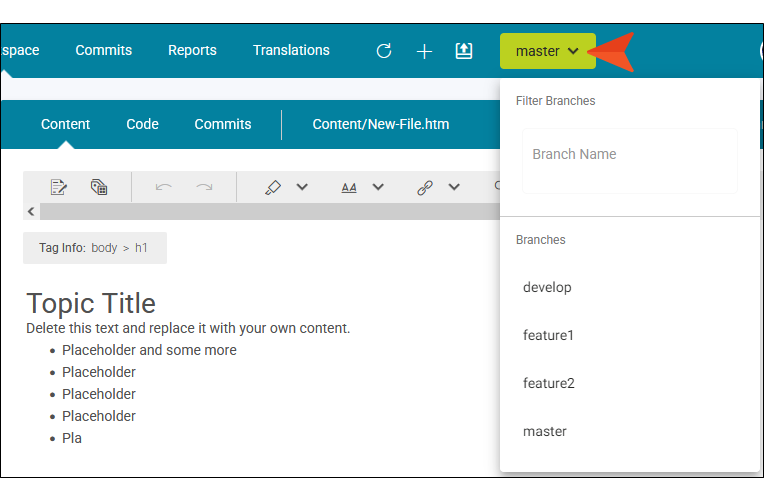
(Optional) From the drop-down at the top of the interface, you can select a branch for the edits.
-
(Optional) Click
 . The Workspace Overview opens to display various items (e.g., status, authors, type) about edited files in a project. (If files are already in a working state, the Open Workspace Overview button shows with a circle in the upper-right corner
  .)
.) -
From the left side of the page, expand the existing folders to navigate to a file. You can also click
 to search for a specific file.
 -
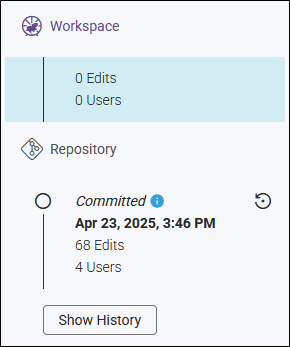
Select a file. It displays in the editor to the right. The right gutter switches from showing project activities to displaying a version history for the file.
-
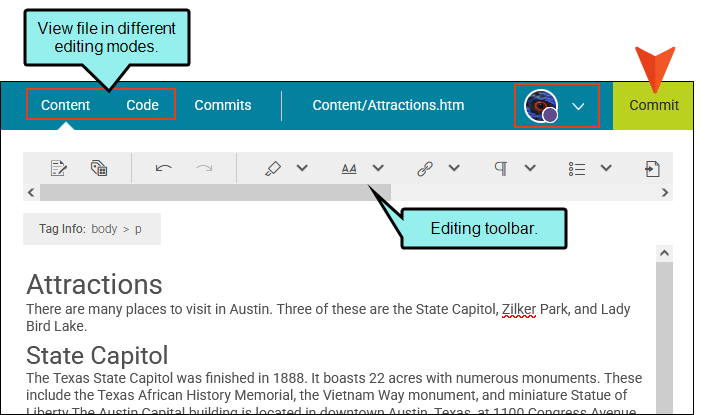
Click in the workspace and make an edit (this activates the file in an uncommitted state for editing, auto-sets your status to In Progress, enables the Commit button, and begins to populate version history). Use the toolbar at the top of the editor to manage the content. Also, the tabs at the top of the editor (i.e., Content, Code, and Commits), allow you to switch modes so you can edit the content or markup, and view commit details.
Note The tracking changes option is off by default for collaborative authoring. From the Content Editor's toolbar, click Review drop-down > Track Changes to enable or disable the feature.
-
When you are done editing a file, it needs to be committed into the Git repository. You can look at the local toolbar or the Workspace Overview to see the status of others.
Do one of the following:
-
If you determine that you are the last one to finish editing the file, then it is safe to commit the file. From the upper-right corner of the workspace, click Commit. (The Commit dialog will be free of a warning about other users in the file.)
Alternatively, you can use the Workspace Overview to perform the commit operation. When a file or many files are in a Ready to Commit state, you can commit them one at a time or in bulk.
-
If other authors are still editing, you can let others know that you are finished with the file. From the local toolbar, select the drop-down by your avatar and click Ready to Commit.
When all authors have indicated they are done and the file is ready, then any author or manager can commit the file. If this is the case, click Commit.
Note If multiple files are In Progress, but only one is marked as Ready to Commit, the Commit button is active. This is because you do not have to wait until all the files are complete before committing them. For example, an author goes on vacation but the In Progress state for the file needs to be committed before the author returns.
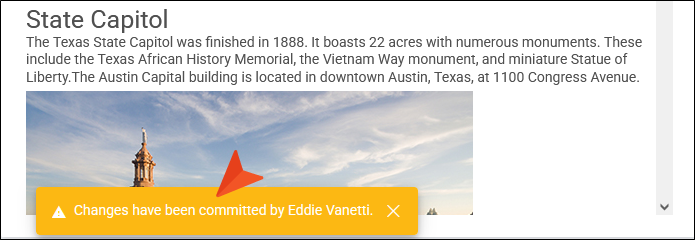
Note If other authors are still working on a file and their statuses indicate In Progress, you can still perform a commit (although you should probably communicate with them first). If you do commit a file while other users are in this state, they will see a notification in their editor.
Note You can quickly get rid of pending edits in the workspace without having to commit the file.
-
-
In the Create New Commit dialog, verify the new file path, and enter a Commit Message.
-
Click Commit.
Note With multiple authors, it is the user's responsibility to be aware of other people editing the same file.
Note If an author is editing a file, but never commits the file to the repository, another user (author or manager) can commit the file at any time.
Note While you are editing a file, an external commit from another source might occur. If this happens, it is best to manually pull the changes into your workspace so you are working with the latest updates.
Note If you are collaboratively editing with snippets and changes are made from an external source, the pull bar and Pull Changes button displays in the Snippet dialog.

