After you create a variable, you can edit it in the Variable Editor. You can also add multiple alternate definitions to a variable, using them as a way to override variables on a target. For example, your company might have multiple phone numbers. You can associate them all with the same variable and use the appropriate one wherever necessary by choosing it in a particular target. If you change the definition for a variable that has been inserted into topics, the changes will automatically be reflected in all those topics.
[Menu Proxy — Headings — Online — Depth3 ]
Permission Required?
Editing content and project files is an activity available to users with the Author status. By default, users with Author status have the following permissions set:
-

If this is deselected, then viewing files in a read-only mode is allowed. On the left side of the page, the Files vertical three-dot menu is not available.
-

If this is deselected, the XHTML in the Code view is read-only.
Editing code is regarded as a capability for an advanced user. If not done properly, the code can become malformed quickly. Administrators can prevent users from editing the code by deselecting the Edit Code permission.
For more information about permissions, see Setting User Permissions or Setting Team Permissions.
How to Edit a Text Variable
-
Open a project, and select the Files tab at the top.
-
From the left side of the page, with All Files showing, navigate to and select a variable file.
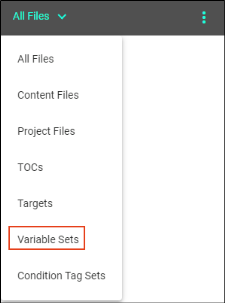
Tip Click the All Files drop down, and select Variable Sets. This filters only the variable files to display in the files panel.
-
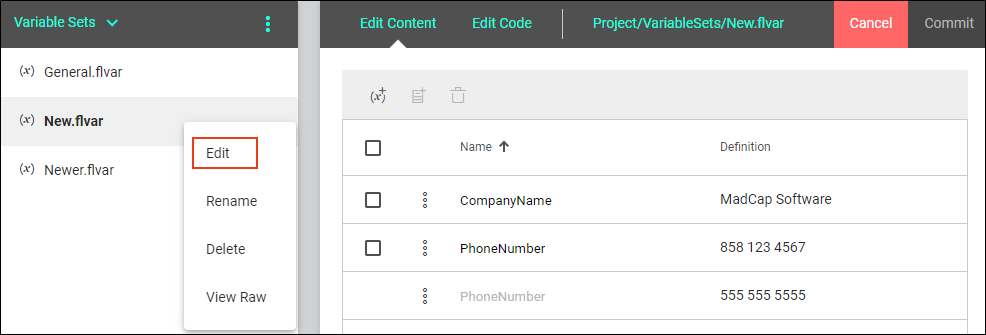
In the Variables Editor, click Edit.
Tip From the left side of the page, you can right-click to select and open a variable set directly in editing mode. From this menu, you can also rename, delete, or view raw (i.e., opens the file code in a browser).

-
From a variable row, click
 and select Edit Definition, or you can right-click the variable row for the same list.
 -
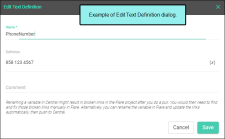
In the Edit Text Definition dialog, you can change the name, definition, or comment of the definition.
- Name Edit the name of the variable.
-
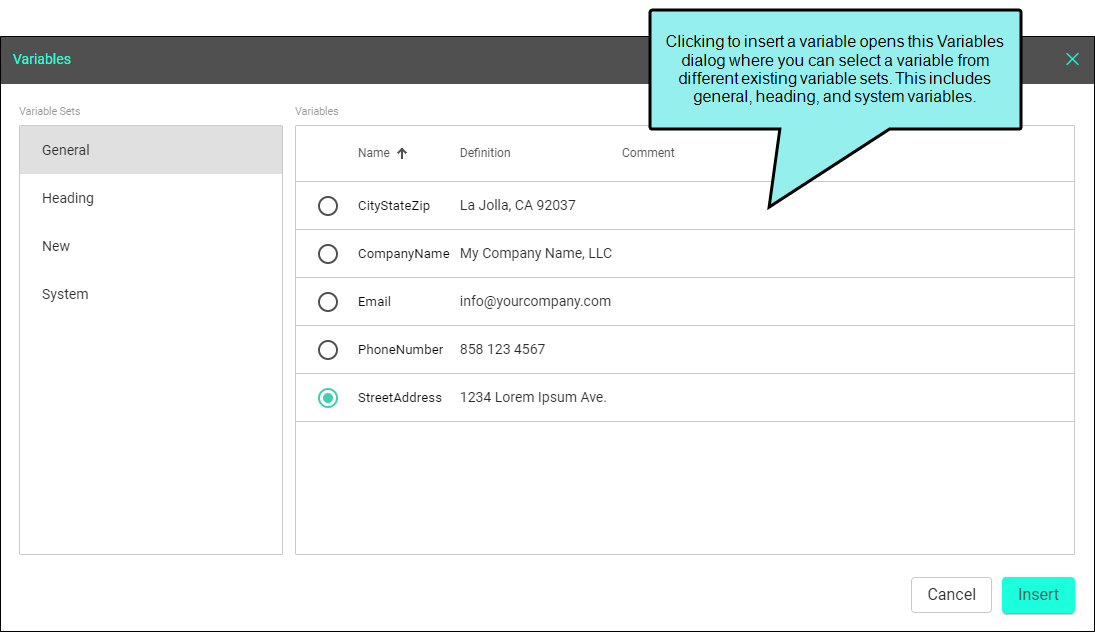
Definition Edit the definition for the variable. If you want to insert another variable as part of the definition, click
 . The variable displays as syntax, but in the output the variable definition is shown.
-
Comment (Optional) Enter a comment to associate with the variable.
-
Click Save.
-
(Optional) You can further edit a variable definition by removing it. From a variable row, click
and select Delete Definition, or you can right-click the row and select Delete Definition. This removes only the selected definition from the Variables Editor. (If there are multiple definitions defined, and you remove a primary definition for the variable, the next alternate definition becomes the primary definition.)Note To remove a variable and all its definitions from the Variables Editor, do one of the following.
-
From a variable row, select the check box, and from the local toolbar click
 .
. -
Click
and select Delete Variable. -
Right-click the variable row, and select Delete Variable.
-
-
Click Commit. (Or click Cancel, to back out of the process.)
-
In the Create New Commit dialog, enter a Commit Message.
-
Click Commit.

How to Add an Alternate Text Variable Definition
-
Open a project, and select the Files tab at the top.
-
From the left side of the page, with All Files showing, navigate to and select a variable file.
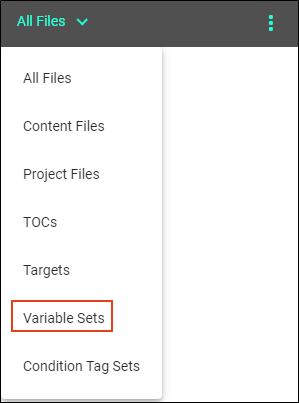
Tip Click the All Files drop down, and select Variable Sets. This filters only the variable files to display in the files panel.
-
In the Variables Editor, click Edit.
-
Select a variable row, select the check box, and from the local toolbar click
 . Be sure to select an existing Text type variable row.
Note Alternatively, from a variable row, click
and select Add Definition, or you can right-click the variable row for the same list. -
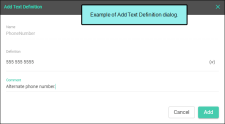
In the Add Text Definition dialog, populate the fields.
-
Definition Enter a definition for the new variable. If you want to insert another variable as part of the definition, click
. The variable displays as syntax, but in the output the variable definition is shown.
-
Comment (Optional) Enter a comment to associate with the variable.
-
-
Click Add.
-
Click Commit. (Or click Cancel, to back out of the process.)
-
In the Create New Commit dialog, enter a Commit Message.
-
Click Commit.

Example The following illustrates how to add multiple text variable definitions. You might do this if you want a different variable definition for a particular audience. For example, a client has two targets, and a unique phone number is needed in the documentation for each one.
You select a variable to add a definition to it, the Add Text Definitions dialog displays. You enter another text definition and a comment.
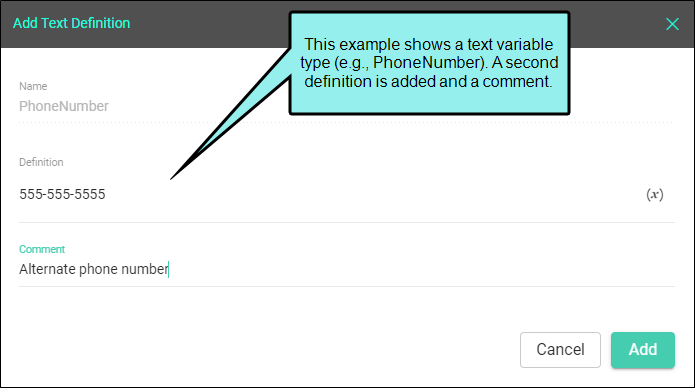
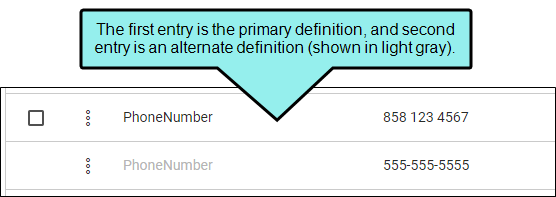
When you select Add, the new definition is added to the variables list in the editor. Notice one variable now includes multiple definitions.
If the animation below is cut off, you can see the complete animation by clicking the link under it to open the full topic.
What’s Noteworthy?
Note Keep the following in mind when editing variables:
-
In the Edit Content tab, you can sort the order of the Name column in three ways: ascending, descending, and not set (items order in file).
-
Selection of the variables determines the state of the items in the local toolbar. For example, an empty selection (no boxes selected) only enables the Add Variable button. A single selection enables all buttons. A multi-selection enables the Add Variable and Remove Variable buttons.
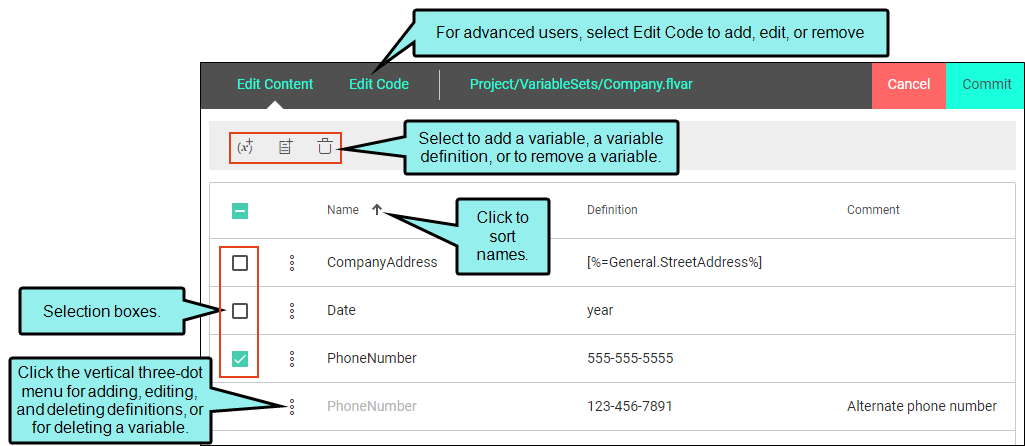
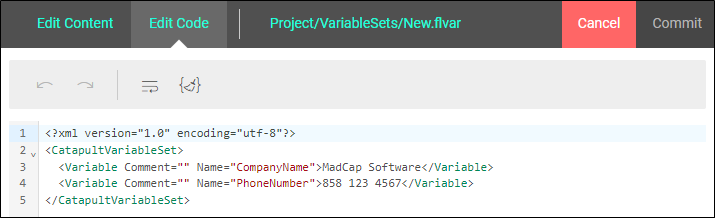
Note From the top of the interface, you can select Edit Code to add, edit, or remove items in the XML code directly. The editor only displays properties that it can edit. It is recommended that only more advanced authors use this editing mode.