Branching
A Git branch is a pointer to a snapshot of your changes, or you can think of it as a variation from the original or main state of your files. Adding a branch lets you create a new development area for your work
Branching is supported on Central for editing files, checklists, topic reviews, translation, building output, and sites.
[Menu Proxy — Headings — Online — Depth3 ]
Editing Files
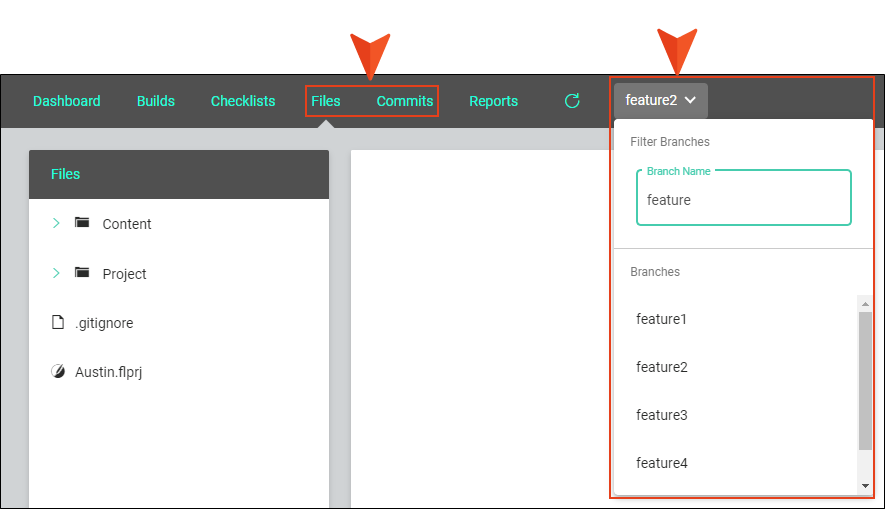
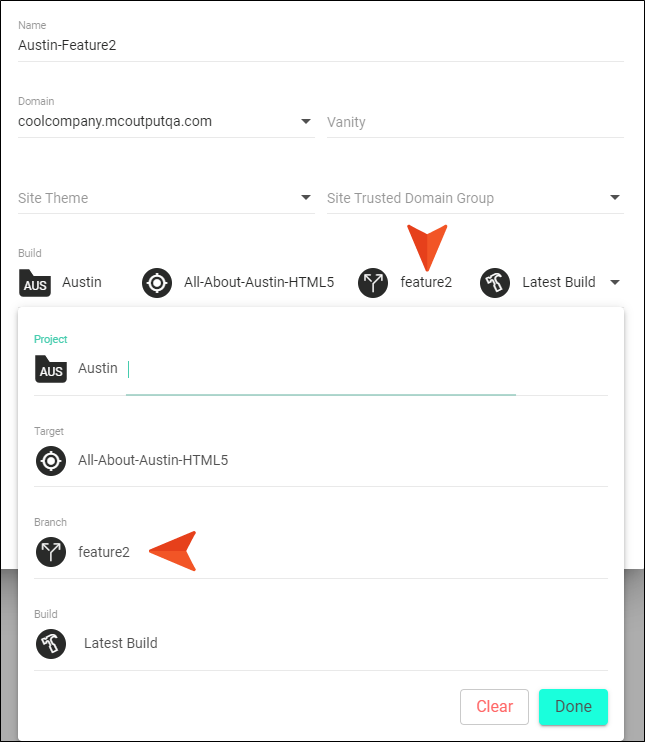
When you open a project and select the Files tab, you can select a particular branch from the top of the interface. You can then add or edit files for that branch.
Checklists
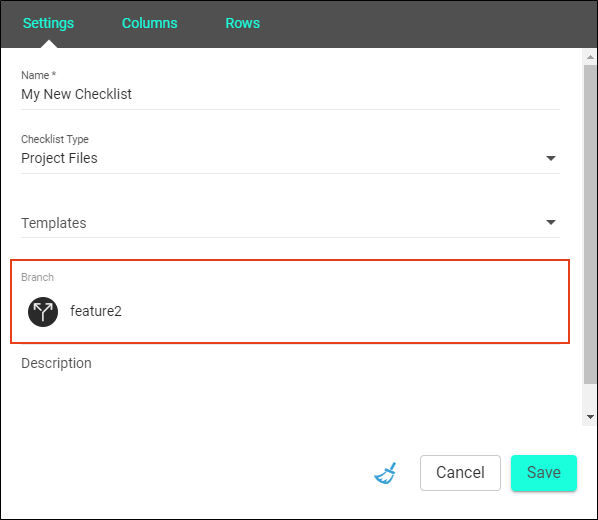
When creating a new project checklist in Central, you can select a branch. This is extremely important due to the nature of content associated with checklists. When you are working on a checklist related to projects (as opposed to a generic checklist), it usually coincides with content that is in a state of development, rather than content that has already been published. And branching is the best way to isolate content that is in a state of development so that checklists can be associated directly with it.
Topic Reviews
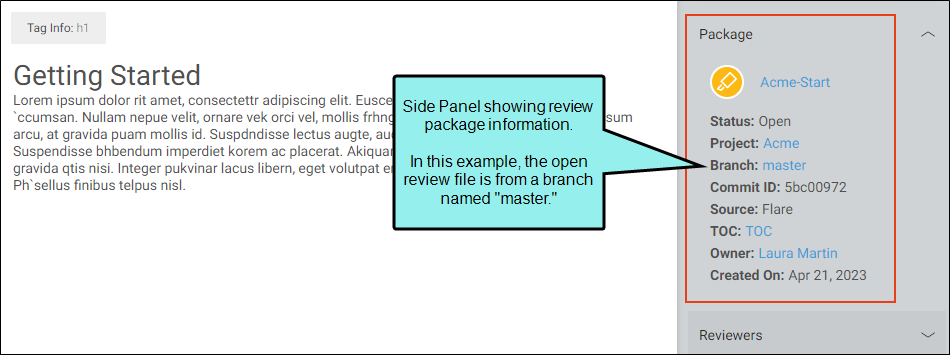
You can send files in a particular branch for a review on Central. Reviewers (e.g., SMEs and authors) can see which branch a file is coming from on the right side of the interface. However, nothing special needs to be done in order to make edits or comments in the file.
Note Reviewers who are authors can alternatively click the file icon in the review package overview or at the top of the Review Editor. The Review Files profile opens to show package information including branch association, and also to update various file settings.
When you bring a reviewed file back into Flare and accept it so that it replaces the original file, make sure you first switch to the correct branch in Flare. The branch associated with each file is shown in a column in the File Reviews window pane in Flare.
Translation
A translation branch is simply another development area for work specifically tied to the translation part of your project. Once created, a translation branch is available anywhere other project branches might be available in Central.
Building Output
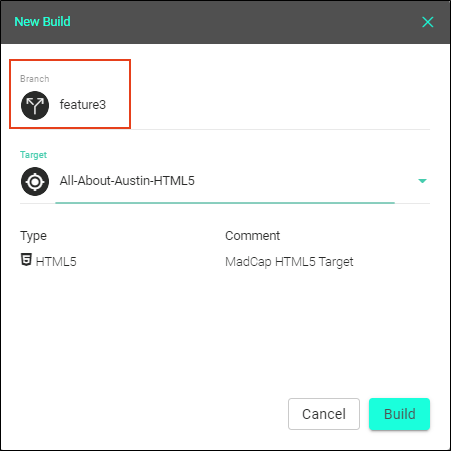
Central supports building output for specific branches, rather than just the master branch. There are tabs in the toolbar to let you switch from manual builds to automatic scheduled builds. A button in the upper-right corner lets you initiate a build or schedule. Once you click this button, you can point to a specific branch. In addition, a Branch column in the grid displays the branch for which a particular build was generated.

One of the advantages of using Central for your translation needs is that you can easily create single language output (i.e., one target is generated for each language) or multilingual output (i.e., one target is generated for multiple languages).
Note If you build a target in the project for a particular branch and then publish the output from the Flare desktop directly to Central, you will also see the associated branch listed in the Branch column on the Builds page.
Sites
When you create or edit a site, you can select a branch for the output. For example, this is useful if you are generating private output to circulate among individuals in your company so they can see content that is currently under development, but not accessible to the general public.
What’s Noteworthy?
Note For more detailed information on Git branching and how to use it with projects (including publishing branches and pushing changes to Central), see the Flare online Help.
Note From Central, you cannot create or merge branches. You can do this in Flare.
Note Branching is not yet available on Central for reports. With reports, you are always working with files information from the master branch.
Note Branching on Central is supported for projects that are single-bound, as well as dual-bound projects using a Git-Central setup. Branching is not supported on Central for dual-bound projects that are using Perforce Helix Core, Subversion, or Team Foundation Server as the first binding.
Note If your project is dual-bound to Git-Central and you want to change your configuration to a single-bound setup, you can do so by completing the following steps in Flare.
Your Git commit history will be retained when you move from a dual-bound configuration to a single-bound setup. That's because the history is recorded in your local Git repository where your project exists. Removing the first binding will have no effect on the commit history.
-
Each author on the team should commit all outstanding changes and synchronize each local branch with the corresponding remote branch.
-
It's possible, or even likely, that not all writers on the team have all of the remote branches locally, and they don't necessarily need to. But between all of the team members, all of the remote branches that you want to keep should be pulled down to someone's local repository by selecting the remote branches and switching to them via Flare's Branch Management dialog. In fact, just one person on the team could do that. Then, once the first binding is removed using the steps below, the local branches can be published (i.e., pushed) to the remote Central repository.
-
Each author on the team should then complete the following steps:
-
Select Project > Project Properties.
You can also remove the first binding by using the Settings view of the Source Control Explorer.
-
Select the Source Control tab.
-
Next to the Remotes field, click
 .
. -
Select the origin row (which represents your first binding) and click Remove. This leaves just the Central binding.
-
Click OK.
-
In the Project Properties dialog, click OK.
-

